How to create a Call to Action in dotCMS
 Print
Print Email
EmailLearn how to create a Call to Action in dotCMS.
- Log into dotCMS.
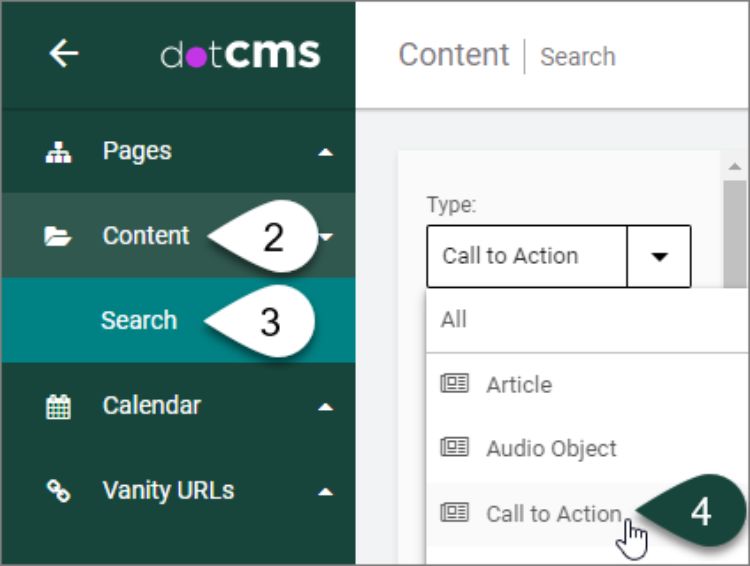
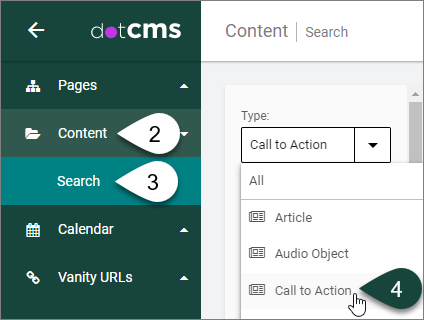
- Select Content on the left side of the screen.
- Select Search.
Content Dashboard
-
Select Call to Action from the Type drop-down menu.
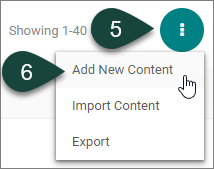
- Select the Triple Vertical Dots button in the upper right-hand corner of the page.
- Select Add New Content.
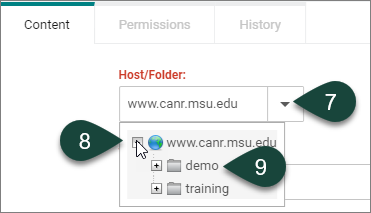
Call to Action Content Tab
- REQUIRED FIELD: Open the Host/Folder drop-down menu.
- Select the Plus Sign (+) to twirl open the www.canr.msu.edu folder.
- Select the Folder of the site you where you want to save your call to action.
TIP: If you forget to select your folder for the Host/Folder, then when you attempt to publish the call to action you will receive an error stating that “You don't have the required permissions to save the asset. User has no Add Children Permissions on selected host.” Follow the steps above and republish your call to action. It should publish properly this time.
- REQUIRED FIELD: Enter the Title of the call to action.
NOTE: This title is for back-end searching only.
NOTE: Above most fields in the Content tab is Hint Text that may help you to use the field more successfully. It is recommended to read this information prior to filling in a particular field.
- OPTIONAL: Fill in a Campaign Name if you want a Google Analytics campaign URL to be associated with your call to action.
NOTE: This will automatically add a campaign URL string to the end of the call to action link. For example, “?utm_source=canrwebsitecta&utm_medium=referral&utm_campaign=autumnfest2019”.

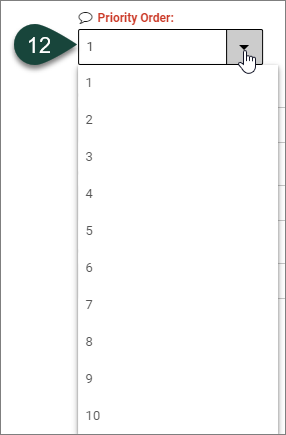
- REQUIRED FIELD: Select the Priority Order number from the drop-down between one (1) and 10.
NOTE: Ten (10) is the highest level for priority order, meaning it will be used ahead of other calls to action. Only two calls to action will appear on a page, so make sure you assign prioritize the order you select accordingly.
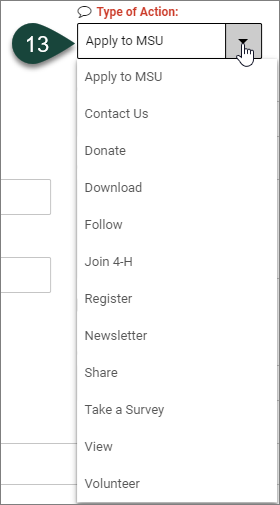
- REQUIRED FIELD: Select the Type of Action from the drop-down menu.
NOTE: Defining this action allows for Google Analytics tracking.
- OPTIONAL: Upload a Square Image for the call to action using the Browse button.
TIP: Ideal image dimensions are 1000 x 1000 pixels. Simple images are recommended over complex images as the image will shrink down to fit the size of the box. If you upload an image that includes text, make sure the text is readable scaled down to 300 x 300 pixels. Example call to action images are viewable at Demo Article – All Fields.
NOTE: If you include Overlay Text (see Step 23) on your image it will automatically apply a green screen overlay to the image.

- If you select the Browse button, from the Select a file window, navigate to the Uploads/Images folder on your site.
- Either select an image that was previously uploaded to the Images folder, or select the Upload New File button to upload a new image.
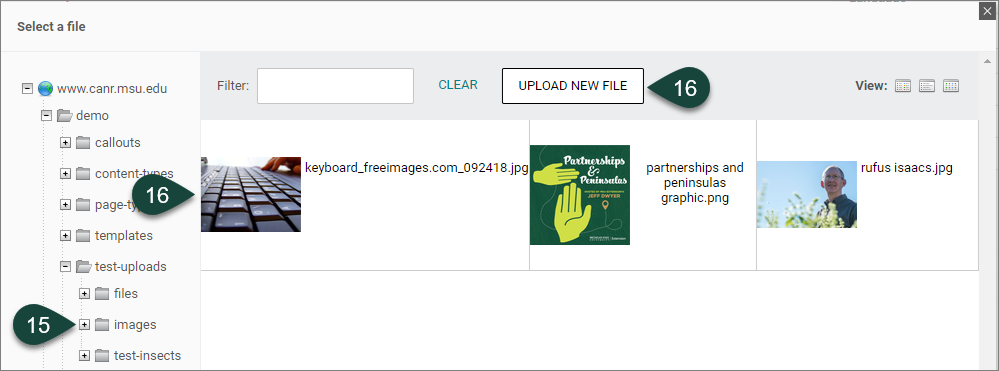
- If you selected Upload New File, Select file(s) to upload button and navigate to where the image file resides on your computer, and choose the file and select Open.

- Select Save and Publish button.
NOTE: DO NOT select the Save button. This will only save your image to the backend of your website as unpublished, and it will not appear live when you publish the Call to action. By selecting Save and Publish for the image you are preparing the image for publishing live for the Call to action. It will not appear on your page until you Publish the Call to action.
- Select the Execute button.

- OPTIONAL: If you uploaded an image in step 14, you must enter an Alternative Text description for web accessibility purposes. This needs to be written in sentence format with punctuation and is typically a basic, not detailed, description. For example, “Keyboard with hands typing.”

- REQUIRED: Insert the Link (URL) for where you want your call to action to take the user.

- OPTIONAL: Ignore the Widget ID field.

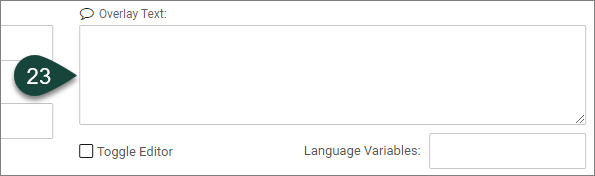
- OPTIONAL: Insert Overlay Text to appear on your Square Image using a maximum of 140 characters.
NOTE: This option allows you to add text on top of the Square Image. A green overlay will automatically be added if you fill in this field so that the text can be readable. The image will be clickable if you include text.
NOTE: You may ignore the Toggle Editor and Language Variable fields whenever you see them below a text box.
- OPTIONAL: Insert Button Text to appear on your Square Image.
TIP: It is recommended to keep this text limited one to two words for simplicity and consistency.

- REQUIRED: Select the tag for the articles that you want the call to action to appear within.
NOTE: Any article that shares that same tag will show this call to action unless another call to action has a higher priority. For example, if you select the “national charrette institute” tag, this call to action will appear on articles that include that same tag.

- OPTIONAL: Select the System Publish Date and Time that the call to action will publish in the system.
NOTE: This is so you can set the call to action to appear on articles at the start of your campaign.

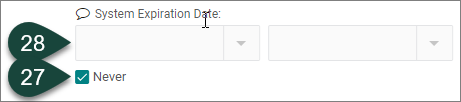
- OPTIONAL: To set a specific System Expiration Date and Time, deselect the Never check box.
NOTE: Expiring calls to action is important so that the system isn’t flooded with too many of them competing for placement on articles.
- Then, select the System Expiration Date and Time that the call to action will expire in the system. It will unpublish automatically when this date is reached.
Call to Action Final Steps
- The English language is the default for calls to action. You can skip this field.
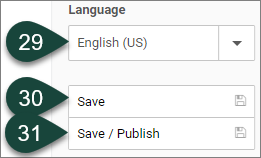
- If you select the Save button, it will save your call to action to the backend of dotCMS so you can still work on it before publishing it live.
- If you select the Save/Publish button, it will publish your call to action so it will appear live on your related Tagged articles.