How to balance your checkbook: A skill for individuals and 4-H group treasurers
Step-by-step directions to balancing your checkbook can help anyone achieve financial success.

Balancing and reconciling checking accounts is an important skill personally and within group treasuries. It is important you not rely on the ATM printout or online statement because only you have the current record of your finances. How do you reconcile your statement and your account register? Follow these steps for success.
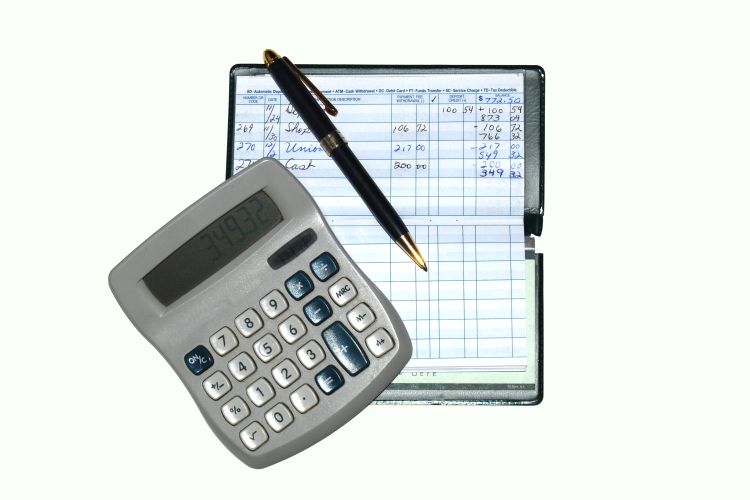
Step 1: Gather your bank statement, calculator, pen and your check book register.
Step 2: Compare your statement to the register. In the check column of the register, check off each item that appears on the statement. Check it off on the statement as well.
Step 3: For items not checked off on your statement, look at whether they are valid or not. It could be an automatic payment or a bank fee you forgot to record in your checkbook register. It could be interest you earned to add to your account. If the items are valid and you do not need to contest them, add them to the check book register, check off those columns and check the item off on the statement.
Step 4: Compare the ending balance you now have on your checkbook register with what you have on the bank statement. Are they the same? If so, you are done! Put a small check in front of the ending balance in your checkbook register and put a check mark in front of the ending balance on your statement. This will allow you to know the last time you balanced your checkbook by looking at your register. Proceed to Step #8. If the two numbers are not the same, move to Step #5.
Step 5: Look at your check book register for all items that do not have checks in the check column. These could be checks that have not cleared yet, deposits the financial institution has not received yet or ATM/debit card transactions that have not gone through at the machine/store. This is where you have the most current information on how much money you truly have available.
Take the ending balance number from the bank statement and write it on the back or bottom of the statement. Add or subtract all of the items from the checkbook register that do not have check marks next to them. For instance, if the bank statement ending balance is $215.34 and your checkbook register shows you deposited $30 and have a check (#2088) paid to a neighbor for $34, set it up this way:
$215.34
+ $30 (deposit of babysitting cash at ATM)
= $245.34
- $34 (check 2088)
= 211.34
Step 6: Compare the number you have just calculated. Does it match what is in the checkbook register? If it does, put a small check in front of the ending balance in your checkbook register and put a check mark in front of the ending balance on your statement. This will allow you to know the last time you balanced your checkbook by looking at your register. If not, make sure you did not miss anything from the checkbook register or the bank statement.
If nothing is missing, check your math since the last time the register was balanced (the last little check mark in front of the register balance number.) Sometimes there is a math error that can be fixed, sometimes you may have listed an item twice. Whatever error you find, list the current date on a new entry line in your checkbook and add or subtract to resolve the issue. Put a check mark in the check column. The checkbook register balance should now match the revised bank statement balance you created.
Step 7: If the two numbers are still not matching, take a break and look at it later. You can also ask a trusted friend or professional to help you out. Complete the steps until your account is reconciled with the bank statement.
Step 8: Congratulations! You have reconciled your bank statement with your checkbook register and truly know how much money you have at your disposal. You are in control of your finances!
This process is important whether managing your personal account or serving in the role of a club or group treasurer. These are also great skills for youth to learn in a 4-H club setting before heading off into life on their own.
Michigan State University Extension and Michigan 4-H Youth Development help to prepare young people for successful futures. As a result of career exploration and workforce preparation activities, including serving in the role of 4-H treasurer, thousands of Michigan youth are better equipped to make important decisions about their professional future, ready to contribute to the workforce and able to take fiscal responsibility in their personal lives. To learn about the positive impact of Michigan 4-H youth career preparation, money management and entrepreneurship programs, read the 2015 Impact Report: “Preparing Michigan Youth for Future Careers and Employment.”


 Print
Print Email
Email

