Soil testing instructions using MSU Extension’s Home Lawn and Garden Soil Test Mailer
Step-by-step instructions on how to test your soil for nutrient levels so you can save money on fertilizer costs.
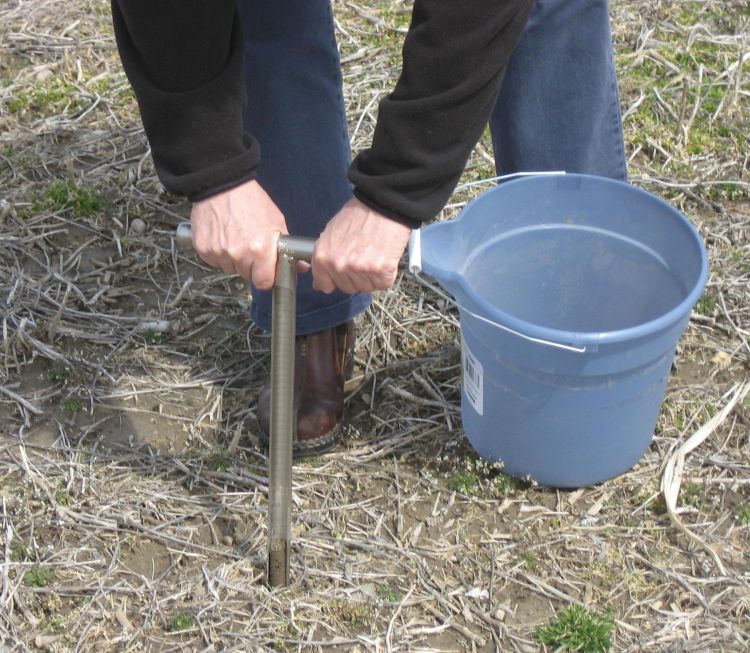
Taking a soil test to determine nutrient levels in the soil for a garden area or lawn is a smart thing to do. Testing the soil can save you money on fertilizer costs because you know what is already supplied by the soil. You add only the nutrients needed for optimum plant growth and excess fertilizer doesn’t end up in groundwater, lakes or streams. Soil testing can be done any time the soil is not frozen.
For established plantings, you are monitoring changes in nutrients, pH and organic matter over multiple years. Organic matter content and pH impact nutrient availability in the soil. You will want to re-test the soil every three to five years or after major changes are made, such as adding lime to raise the pH or adding sulfur to lower the pH.
In order to easily compare soil nutrients from year to year, Michigan State University Extension recommends making subsequent soil tests at the same time of year. Extractable nutrients tend to be lower in fall after harvest. Soil pH tends to be higher in spring than fall.
Collecting samples for testing the soil isn’t difficult to do. The following are step-by-step instructions on how to do it.
1. Purchase an MSU Extension Soil Test Kit Self-Mailer online at the MSU Extension Bookstore or your county Extension office.
2. Select one lawn or garden area to test per self-mailer “kit.” The soil area to be tested should be composed of soils that are similar in texture and receive similar fertilizer treatments. For instance, if the front and back lawns are fertilized the same and the soil is similar, then samples should be collected from both areas and mixed together. Garden areas are managed differently than lawns and should be sampled separately from lawns.
3. Draw a map of the test area or make note of the location that you are testing for reference so that you can retest the same location next time for comparison.
4. Use a soil sampling tube, shovel or trowel to collect soil from 10-15 locations within the sample area. Take samples to a 3- to 4-inch depth for lawns and a 7- to 8-inch depth for garden beds. Do not include the roots, thatch or other plant materials in the sample. Each sample should be about 1/2 cup.
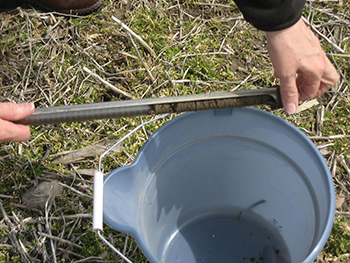
5. Collect soil samples in a zigzag fashion throughout the test area.

6. Allow the soil to air-dry overnight if the soil is very wet. Mix the subsamples together in a clean plastic container.
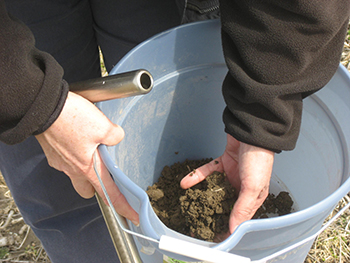
7. Place about a cup of the mixed soil in the resealable plastic bag provided.
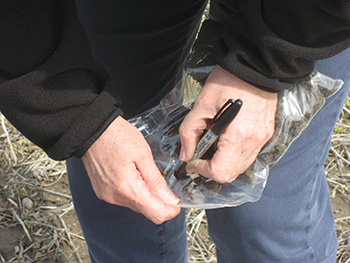
8. Fill out the form included in the mailer and send it in to the soil testing lab.
9. You will receive an email with soil test results. If you do not use email, you may have the test results sent to the Extension office in your county.


 Print
Print Email
Email


