The top 10 do’s and don’ts of Christmas tree planting
 Print
Print Email
EmailReview management techniques to improve Christmas tree planting success.
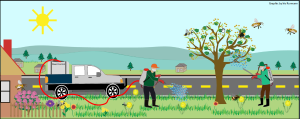
As the spring planting season approaches, it is beneficial to review some management strategies to improve the success of Christmas tree plantings (Photo 1). Many new Christmas tree growers have recently entered the industry and seasoned growers may also benefit from a refresher of planting principles. Michigan State University Extension recommends reviewing and implementing these 10 steps for greater planting success.
1. Weed control
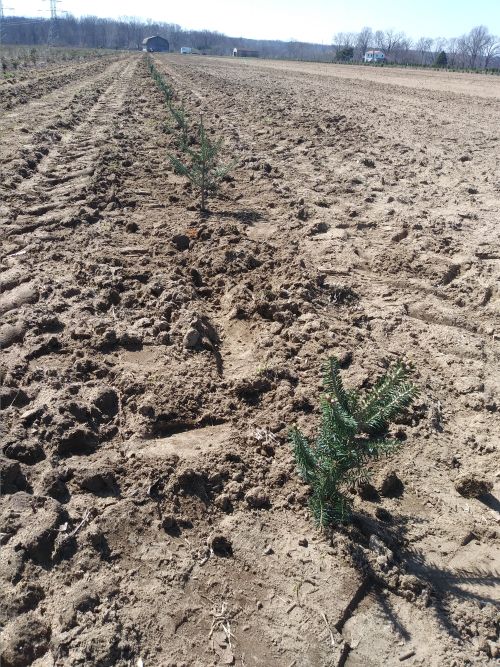
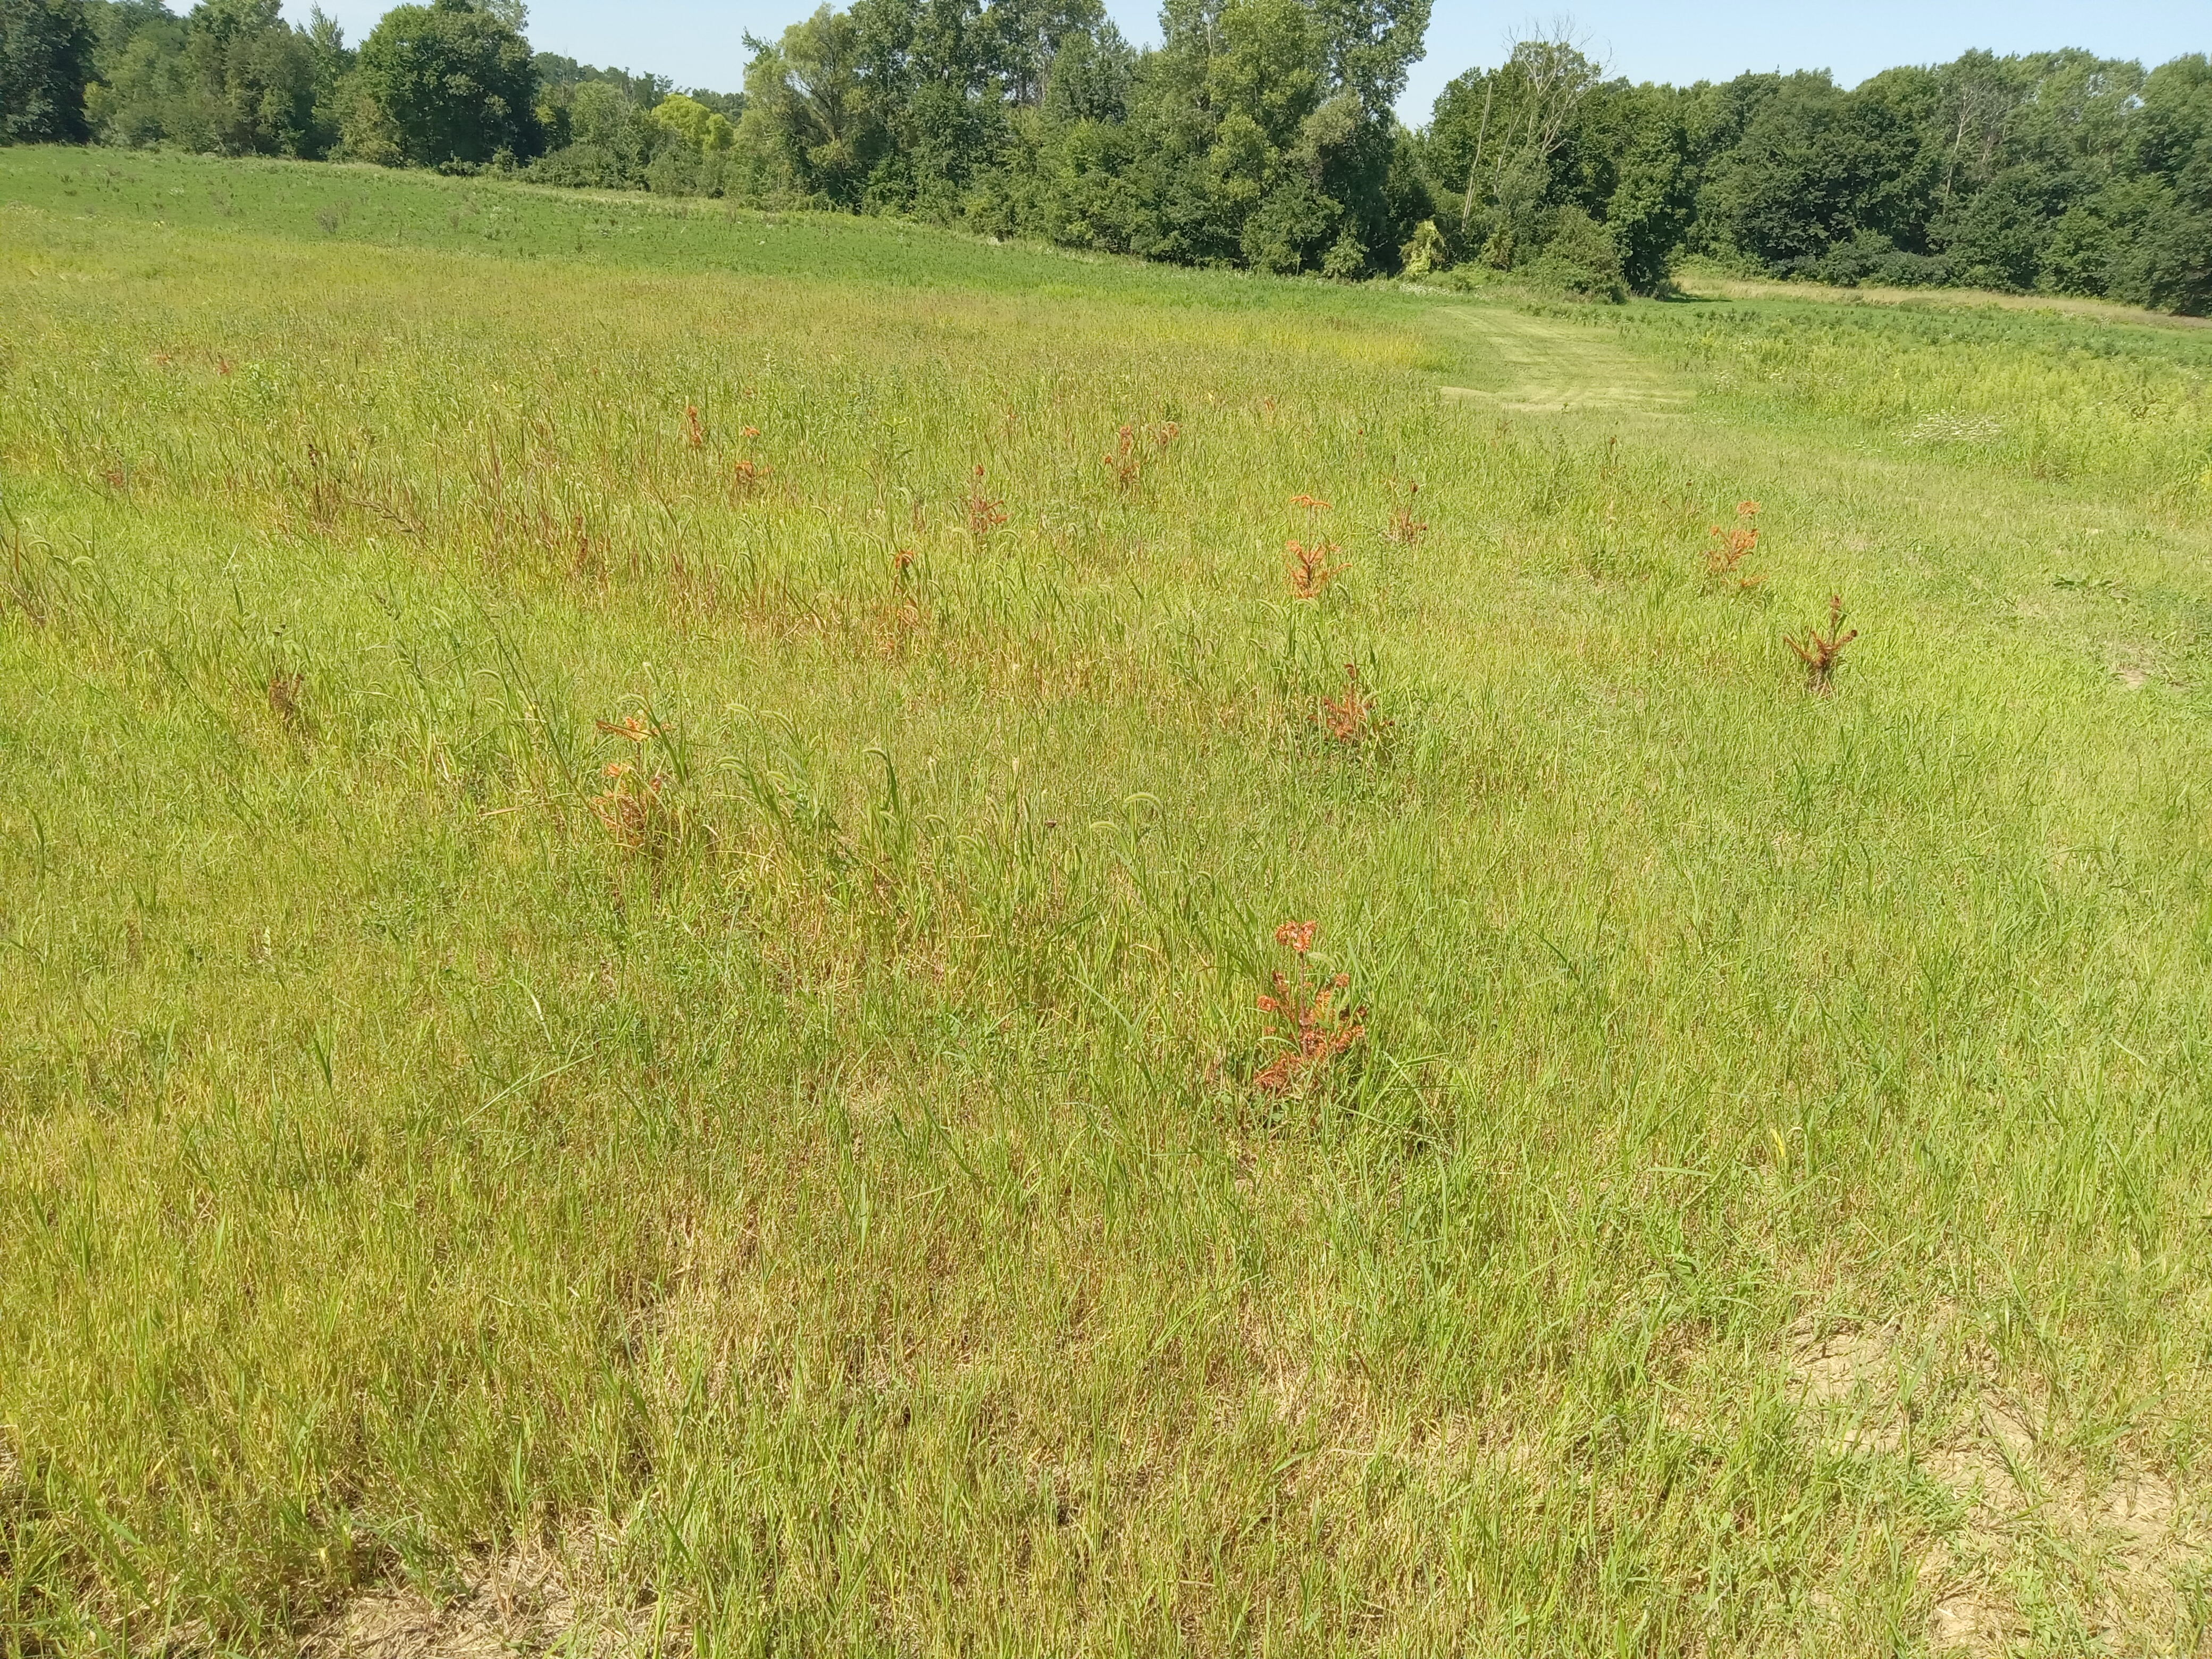
Christmas tree transplants are highly susceptible to weed pressure. Fast-growing weeds can out-compete young trees for soil moisture, nutrients and light, and are often a leading cause of poor transplant survival (Photo 2). Have a plan in place to deal with weeds before you plant. Both chemical and non-chemical strategies can be used to keep weeds at bay, but remember trying to play catch-up with weeds is usually a losing race.
2. Add mulch
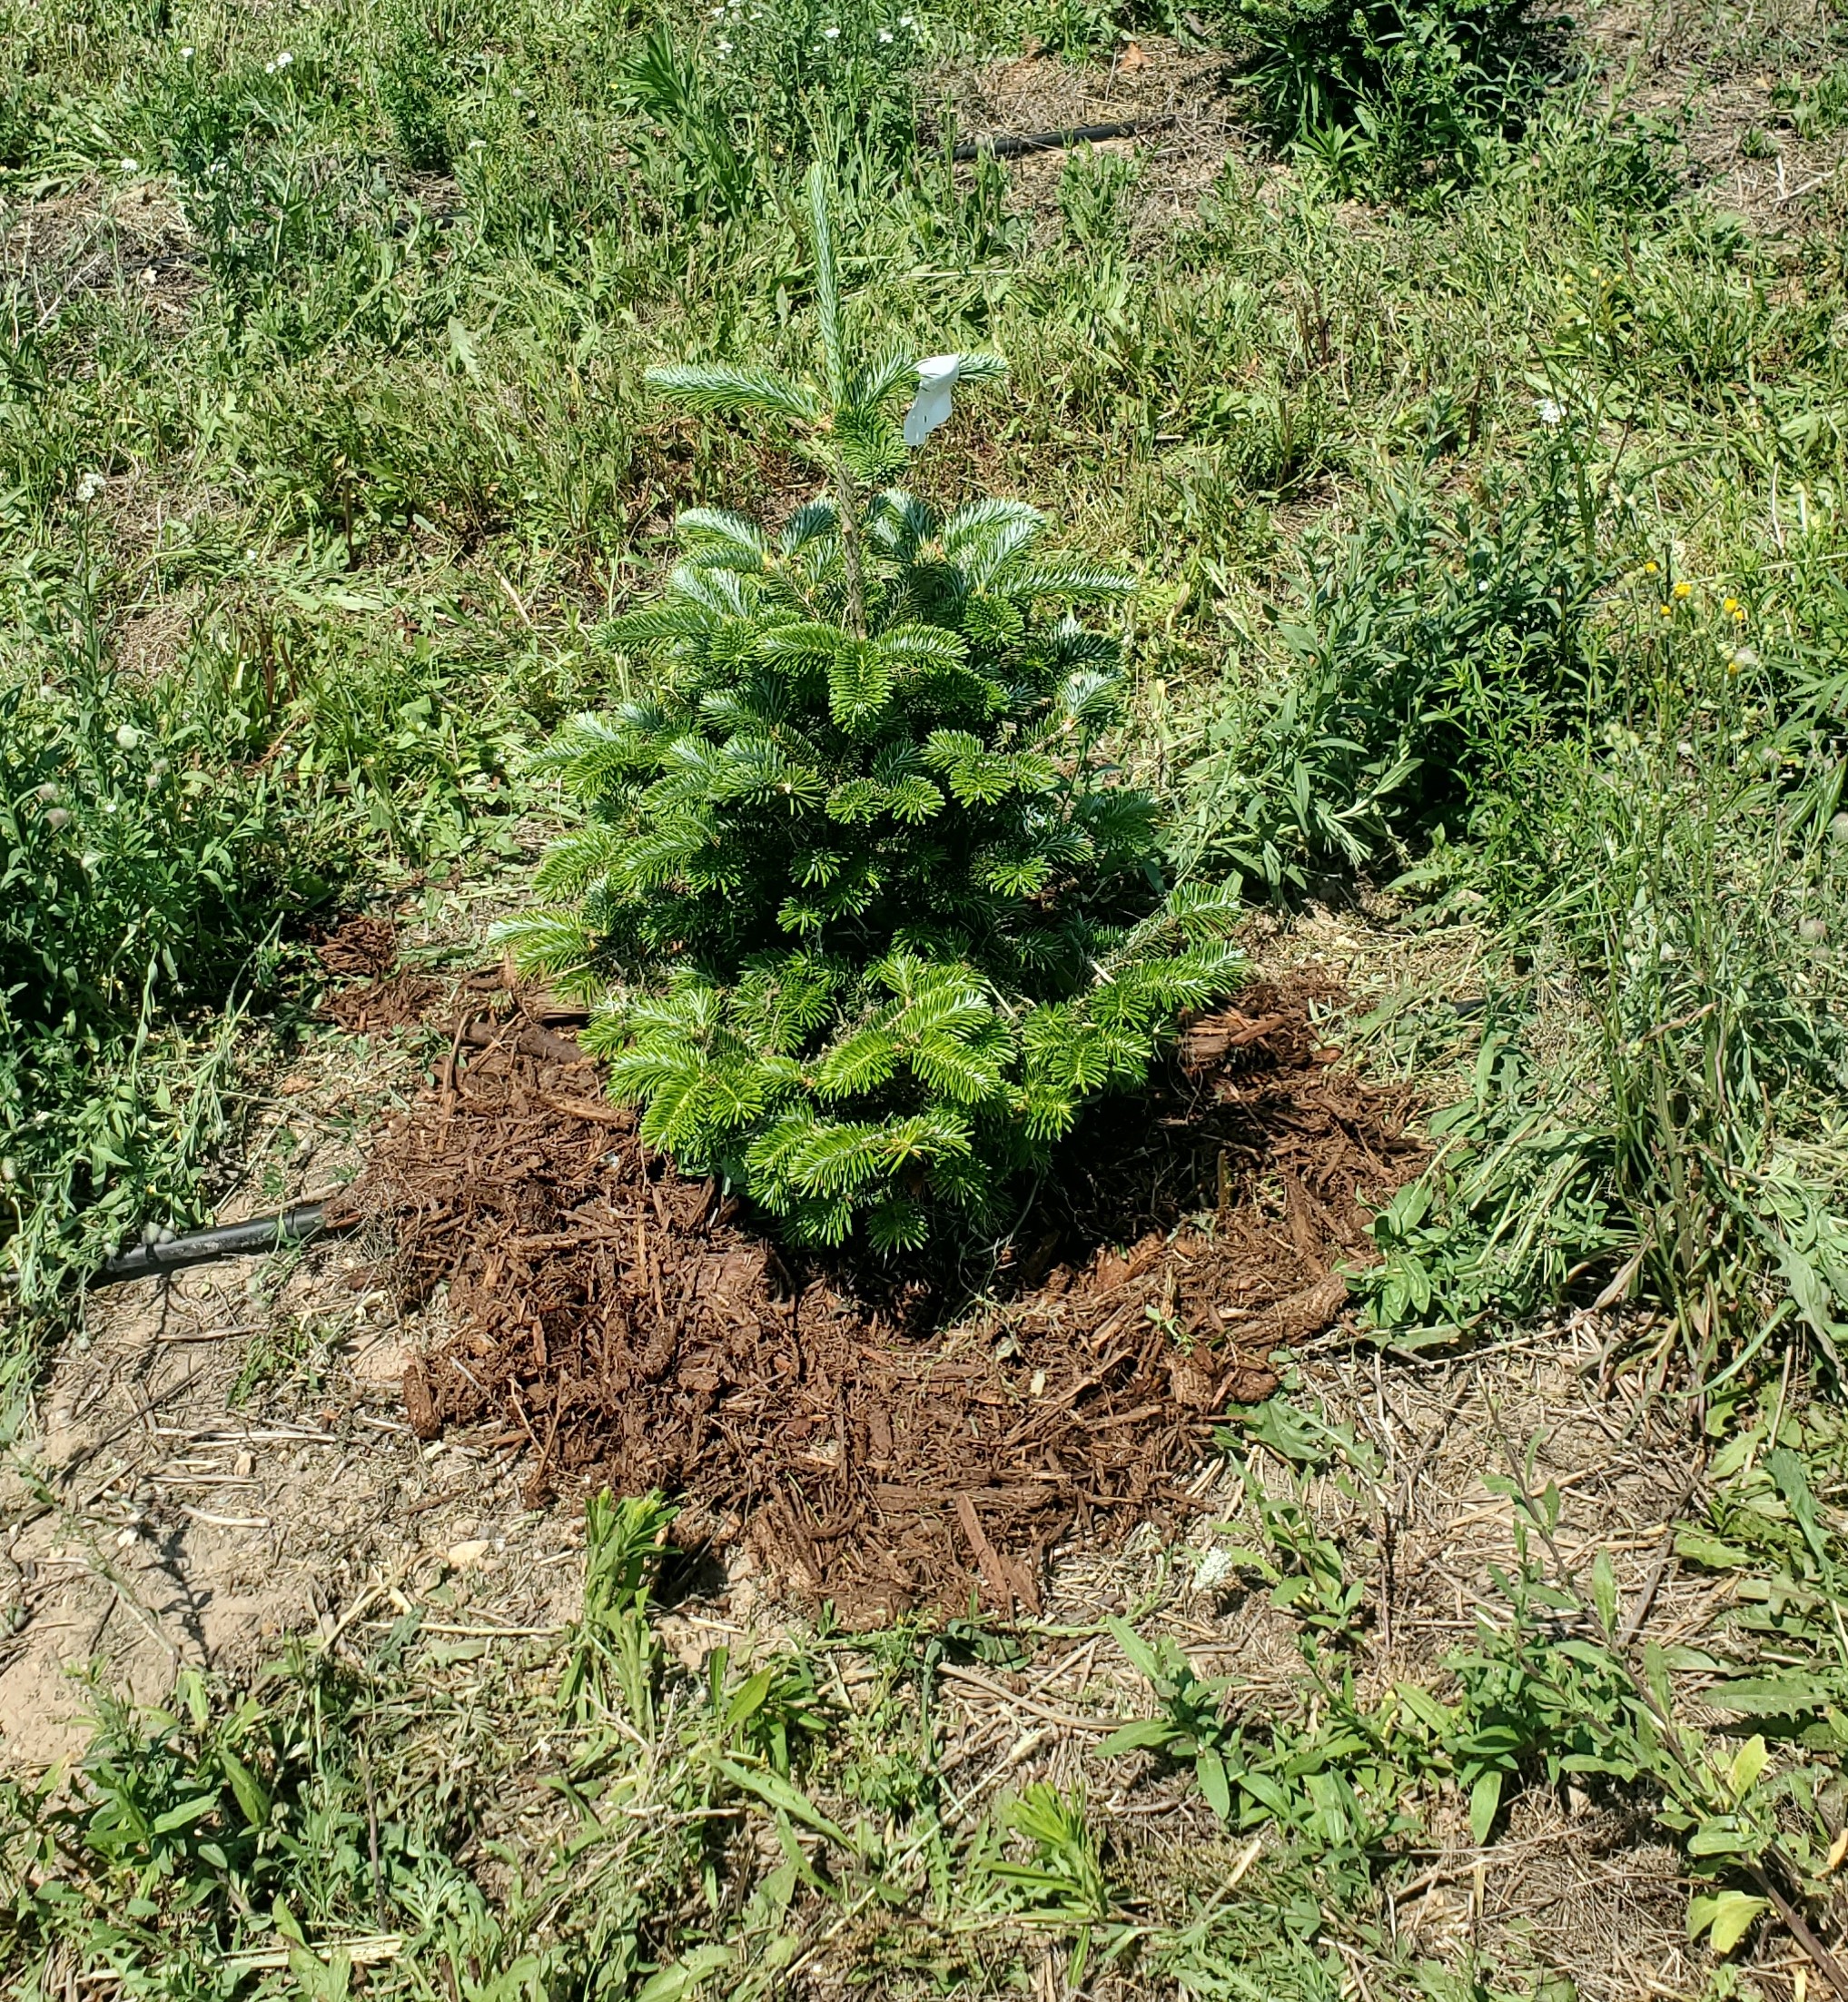
Multiple research studies show that adding mulch around the base of Christmas tree (Photo 3) transplants can improve tree survival. Applied mulch should be a couple inches thick but be sure to avoid burying the tree stem. Mulch will aid in weed suppression, moderate soil temperatures and increase water retention. Mulch will not negatively impact nutrient availability or increase rodent pressure. Addition of mulch can be extremely valuable when irrigation is not readily available.
3. Storage and handling of transplant boxes and bags
In almost all situations, tree transplants will be delivered in boxes. Store and treat these containers as you would fresh produce. Whenever possible, keep trees stored in a cool, dark location. An example would be a walk-in cooler. Check tree roots to make sure they remain moist, but don’t place them directly into standing water. Also, be careful with moving boxes of transplants. Experiments found that repeatedly dropping boxes reduced tree survivability after planting compared to those trees that were not dropped.
4. Exposure
When planting day arrives, minimize the time between removing trees from storage and planting. This is especially problematic on sunny, windy days. Bare root trees can dry out very quickly. Prior to planting, consider covering tree roots that are removed from boxes with wet towels or rags. Remember, it’s better to make more trips back to the cooler than to allow trees to desiccate in the field prior to being planted.
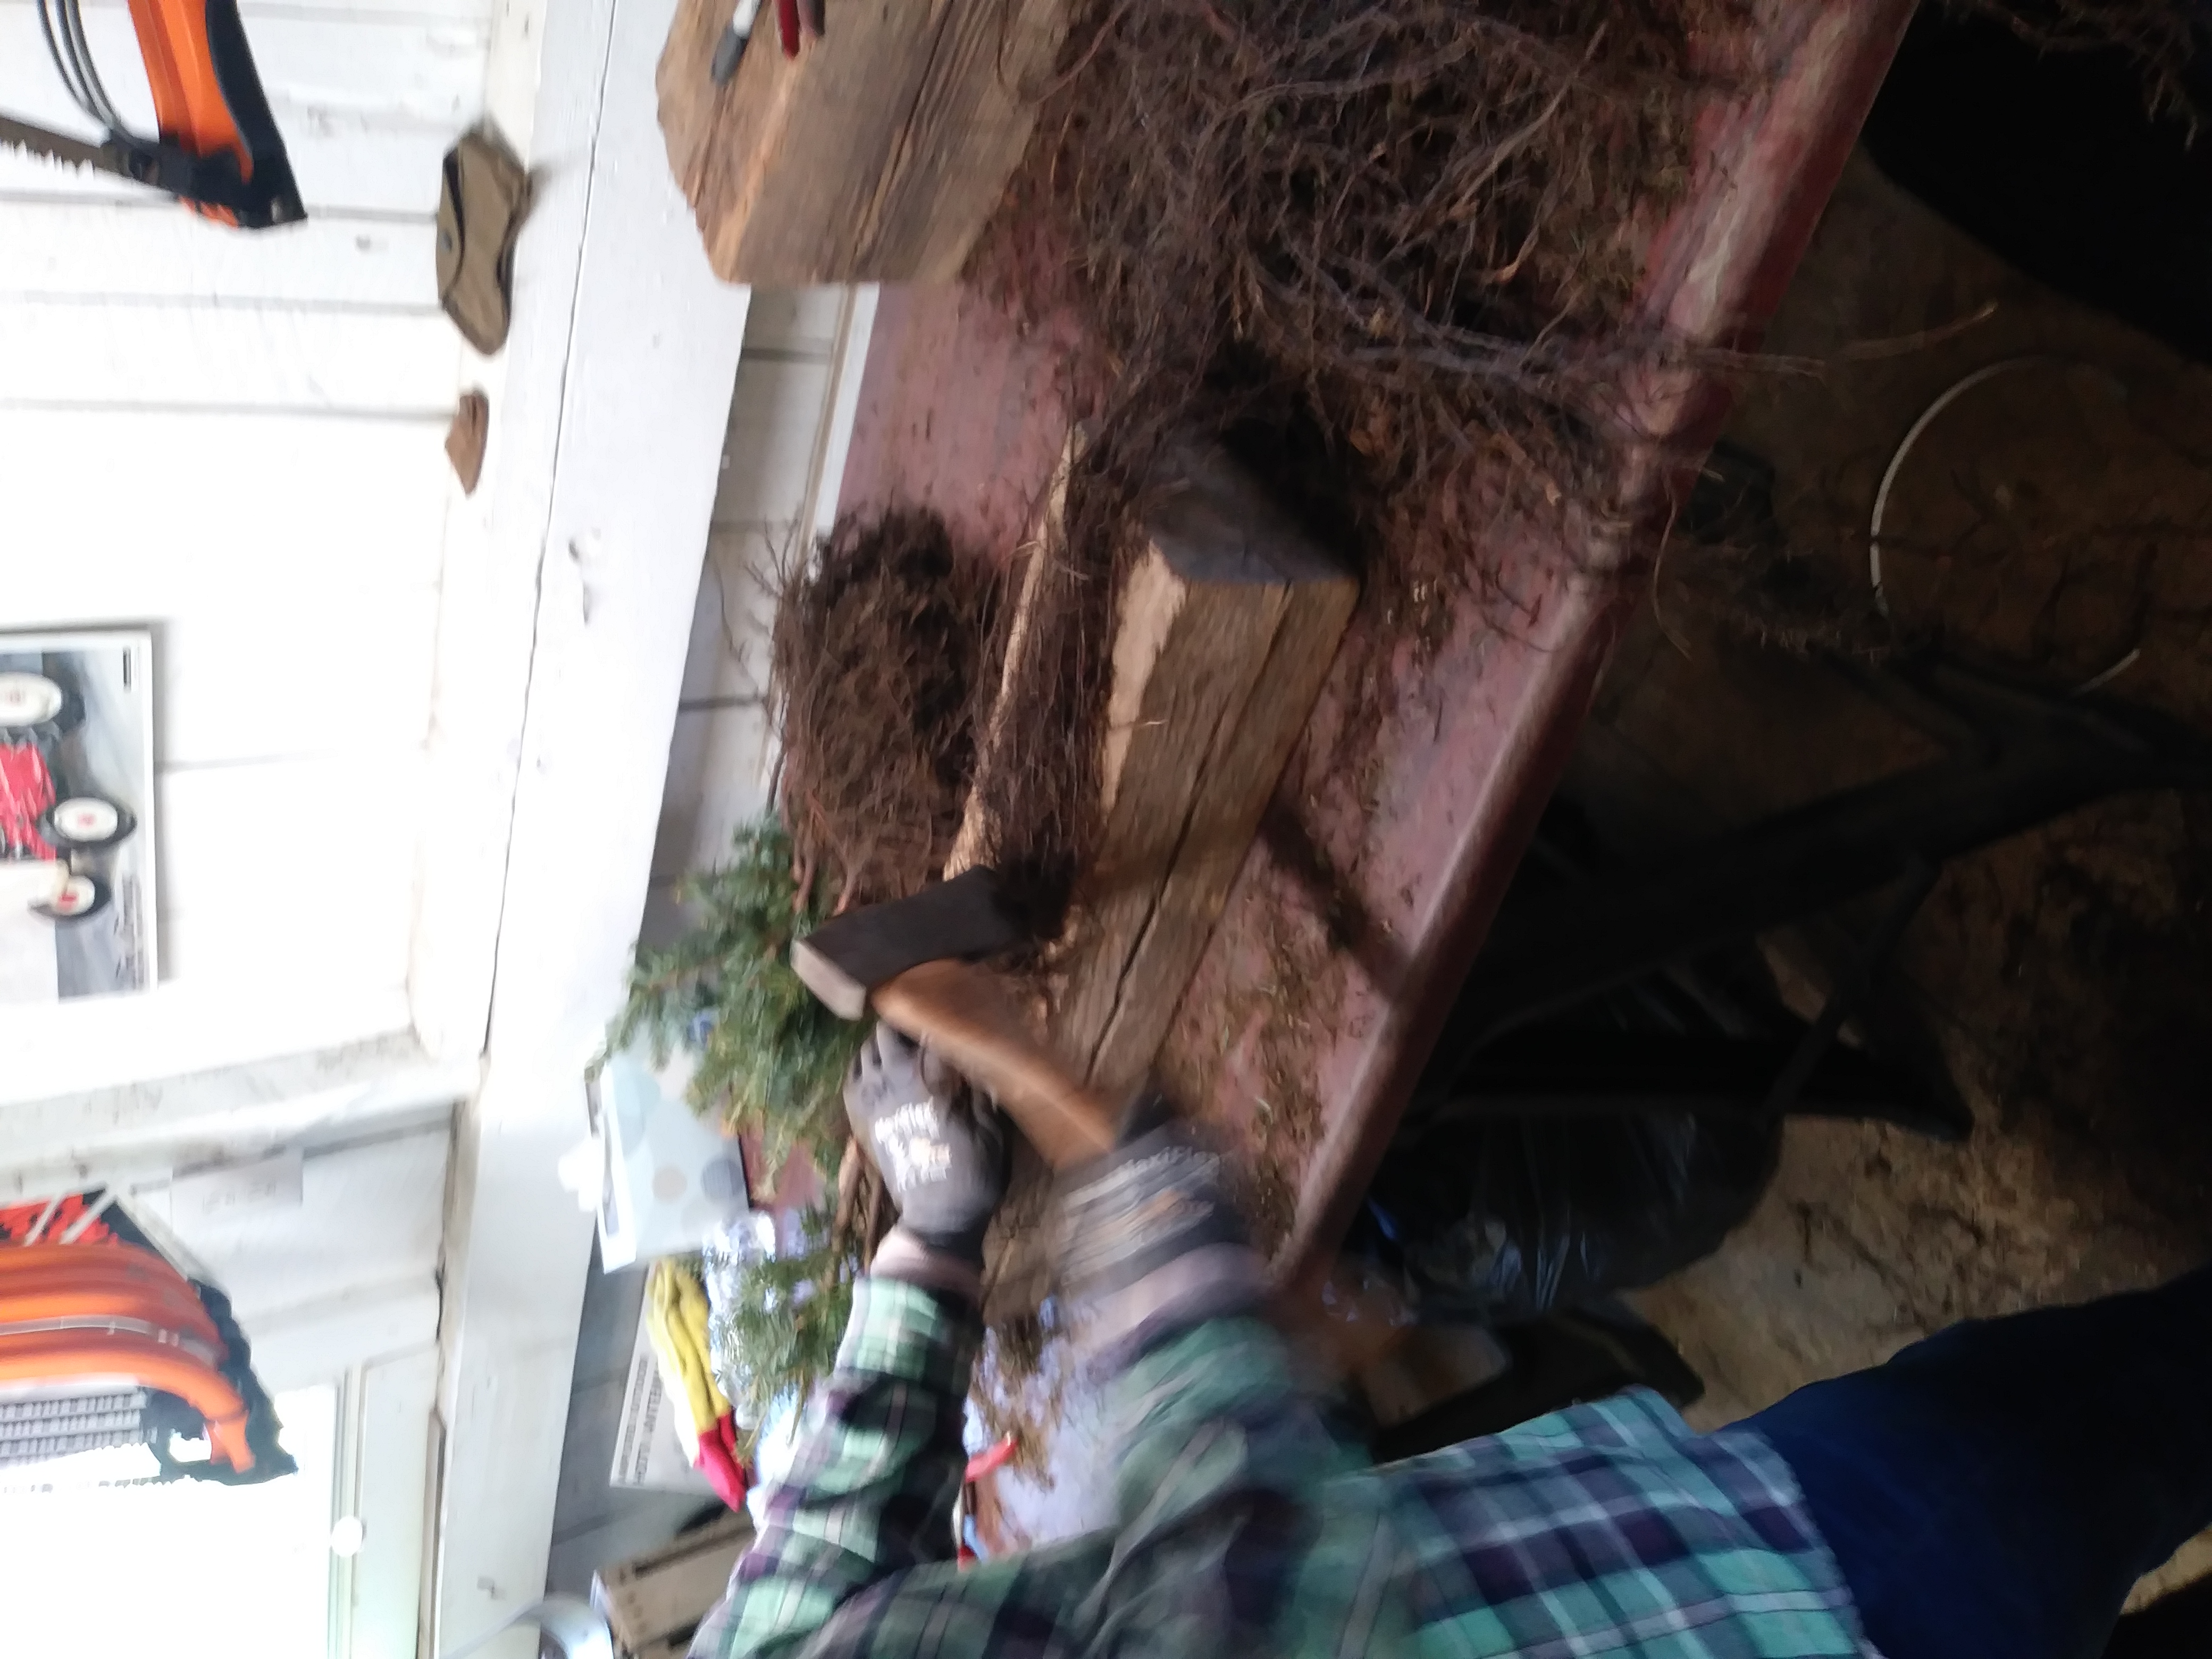
5. Root pruning
Many growers prune roots they receive prior to planting (Photo 4). However, root pruning should only be done when necessary. Tree roots are essential for water uptake and maintaining a favorable ratio of roots to shoots, and are essential to the tree growth and survival. That said, some trees come from the nursery with excessively long roots, and it is better to prune them to a manageable size than it is to plant them in too small of a hole.
6. Hole size
When planting trees, avoid cramming large roots into a small hole. When this occurs, tree roots will become compressed and often form a J shape (Photo 5). J-rooted trees will not grow well, often languishing in the field or dying outright. This can be a problem with either tree planters or handheld tools such as a dibble bar, so make sure to provide a large enough hole for your tree.

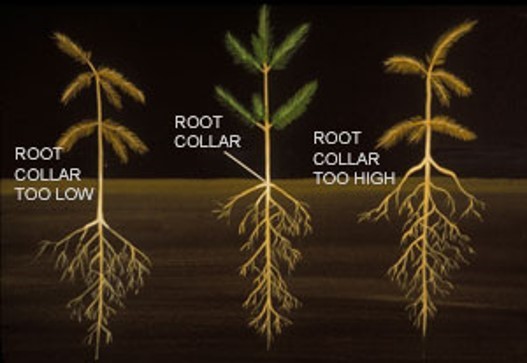
7. Planting depth
Once planting has started, make sure trees are placed at the correct depth. Trees planted too shallow will have roots exposed, leading to desiccation. Trees planted too deep may eventually die due to the buried stem rotting or poor root growth. Correct planting depth should place the soil surface at the root collar (union of roots and shoots) (Photo 6), which is the placement trees were at prior to transplanting.
8. Skip the fertilizer
No additional fertilizer is required for transplants during the first year in the ground. Transplants have enough nutrients stored in their tissues for use during the first year. Initial research at MSU demonstrated even a small addition of slow-release fertilizer reduced tree survivability compared to the non-fertilized control trees. Further studies will examine this in greater detail, but to date no benefit has been observed.
9. Match trees to site
Planting tree species that are poorly suited to the site almost always results in poor production. It is better to take additional time to improve a site’s problem (drainage, soil pH, etc.) than it is to plant trees and then expect to correct a problem. Other options would include planting tree species that are more forgiving of problem areas, i.e., pines or spruces compared to Fraser fir.
10. Check for pests
White grubs, deer and root collar aphids can all feed on Christmas tree transplants. Maintain an active scouting program and document if these issues are occurring and to what degree. Root dips at planting containing an insecticide (for example, Bifenthrin) are a very cost-effective way to manage white grubs and conifer root aphids. Read and follow all pesticide label instructions, including wearing correct personal protective equipment.