Worm composting or vermicomposting
Manage food scraps and small amounts of garden waste right at home by creating your very own worm compost.

Many homes have a system in place to manage their food and garden wastes such as a compost bin or subscribe for local organics pickup for their compostable materials. If you live in multi-unit housing or an apartment there may be no suitable place outside for a compost bin or pile. Worm composting offers an alternative option for manage managing food scraps and small amounts of garden waste indoors.
Anyone can compost with worms no matter what size your home is. Worm composting, called vermicomposting, takes advantage of redworms to consume the organic materials and help decompose other organic scraps. It can be done year-round, indoors and out. The finished compost is good for houseplants, gardens, and lawns.
Overview
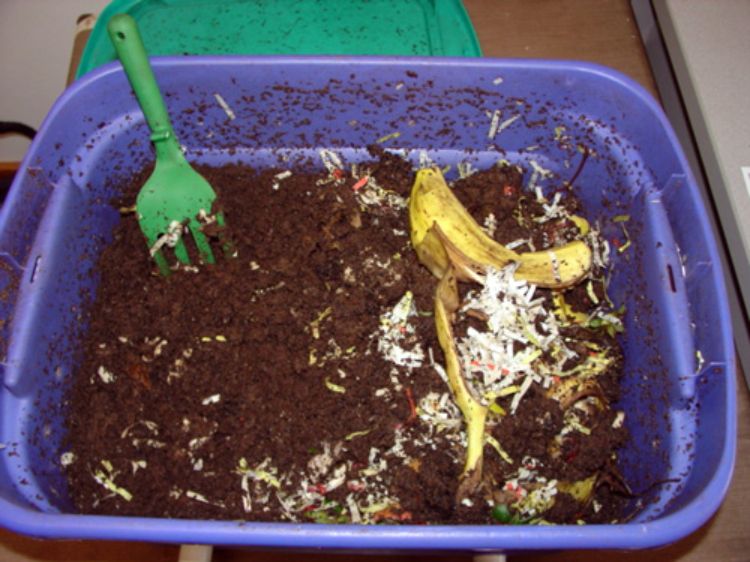
You can choose whether to purchase or make your worm bin. Once you have a bin, fill it with damp bedding and add the worms, soil and food waste. Cover it with more bedding and let the worms go to work.
How it works
Over a period of two to three months, as you continue to add your food waste the worms and other microorganisms eat the organic material including the bedding. This produces a rich compost. There may also be liquid accumulation at the bottom that should be drained off. This can be added to the water for your house plants.
Worm bins in detail: four key ingredients
1. Container. Buy or build a container or use an old dresser drawer, trunk or barrel. Wood containers are absorbent and good insulators for worms. Plastic containers are useful, but compost tends to accumulate excess moisture.
The container should be between 8 and 12 inches deep. It should provide 1 square foot of surface area for every pound of food waste per week (for example, 6 pounds of waste requires a bin 2 feet by 3 feet, or two bins 1 foot by 3 feet). Or put another way, 1 cubic foot converts to about 7.48 gallons. So, a 10-gallon plastic tote bin is just about the right size, allowing for adequate air space for 1 pound of waste per week.
For wood, depending on the size of the box, drill 8 to 12 holes (0.25 to 0.50 inches) around the outside edge and bottom for aeration and drainage. A plastic bin may need more drainage – if contents get too wet, drill more holes. Raise the bin on bricks or wooden blocks for air circulation. Place a tray underneath to capture excess liquid, which can be used as liquid plant fertilizer. See instructions for a quick, plastic, tote bin at the end of this article.
Cover the bin to conserve moisture and provide darkness for the worms. For indoors, place a sheet of dark plastic or burlap sacking on top of the bedding or cover with an aerated lid. For outdoors, drill holes directly in the bottom of the box and use a solid lid to keep out unwanted scavengers and rain.
Worm bins can be located in a well-ventilated area such as the basement, shed, garage, balcony or kitchen counter. They need to be kept out of direct sun, heavy rain and cold. Temperatures should always be between 40 to 85°F.
Questions about using wooden bins and if using treated lumber is okay always arise. If you are planning to keep the bin inside you may not want to use treated lumber, but if you are keeping it outside, then treated lumber is OK. In the past, lumber was treated with chromated copper arsenate that was highly toxic and could leach into the environment. Today, treated wood is safer to use because that chemical was banned in 2003 and is no longer used for protecting wood. A copper-based chemical to pressure-treat wood is still used, and copper is used as a fungicide and funguses are the basis for any good compost biology. I recommend using untreated wood for your worms and keep the treated wood for building the frame of your large compost bin.
2. Worms. Red worms are best for composting because they thrive on organic materials such as food scraps. Officially known as Eisenia foetidaand Lumbricus rubellus, they are commonly known as red wiggler, brandling or manure worms. These worms are self-regulating to the volume of space they are given to live in. A bigger box means more worms.
You can get your worms from a friend’s compost bin, purchase them or, if you feel adventurous, find a horse stable or farmer with an aged manure pile and collect a bag full of manure with worms. To process up to one pound of food waste per day, you’ll need two pounds of worms (roughly 2,000). If you are unable to get this many worms to start with, reduce the amount of food waste accordingly while the population increases.
3. Bedding. Suitable bedding materials include shredded newspaper and cardboard, shredded fall leaves, chopped-up straw and other dead plants, seaweed, sawdust, dried grass clippings, peat moss, compost and aged manure. Vary bedding in the bin to provide more nutrients for the worms and to create richer compost. Two handfuls (about a cup) of sand or soil must be added to provide the necessary grit for worm’s digestion of food and provide those additional microscopic organisms necessary for decomposition.
Fill the bin with a mixture of damp paper, coconut coir, or other bedding so that the overall moisture level is like a “wrung-out sponge.” Be sure not to let the bedding dry out. Check the bin weekly for proper dampness. Fluff the bedding gently to create air spaces. This helps control odors and gives freer movement to the worms. A few, well-placed sticks can help increase air flow, too.
4. Food waste. Your worms will eat most food scraps such as fruit and vegetable peels, tea bags and coffee grounds. It is ok to add pulverized egg shells, they do not break down so quickly but they do add necessary calcium to the bin. To avoid potential rodent problems, do not compost meats, dairy products, oily foods or grains. Worms will also avoid salted foods and citrus peels. These items will decompose in the worm bin, but the worms will not eat them.
Bury new additions of food waste by pulling aside some of the bedding, adding the waste and then covering it up with the bedding again. Bury successive loads in different locations in the bin.
Building a quick tote bin
You will need
- 10-gallon plastic tote storage container
- 7/8- to 1-inch wood drill bit
- 2- to 14-inch sections of 7/8- to 1-inch PVC pipe

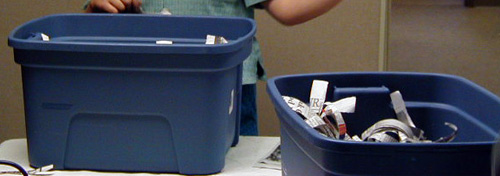
The deep, opaque storage containers are better for worms than the shallow clear containers of the same volume. Use the tip of the drill bit to drill 20 to 30 small (1/8 inch) holes in the lid of the tote. Also, drill five to six small (1/8 inch) holes throughout the PVC pipes. Drill two 7/8- to 1 inch holes on each of the short sides of the bin to accommodate the PVC pipes. These holes should be at least an inch from the bottom of the bin and spaced about 9 inches apart. Insert the PVC pipe through these holes. Warming the containers for a minute with air from a hot hair dryer before inserting the PVC through the holes will make putting the pipe in easier and reduce chances of cracking the plastic.
Fill the bin with shredded paper or newspaper shredded into 1-inch strips. Add enough water to make the newspaper as moist but not wet. Add one cup of soil, red worms and food scraps.


 Print
Print Email
Email