How to create a Role for a Person Profile in dotCMS
 Print
Print Email
EmailLearn how to create a Role for a Person Profile in dotCMS.
- Log into dotCMS.
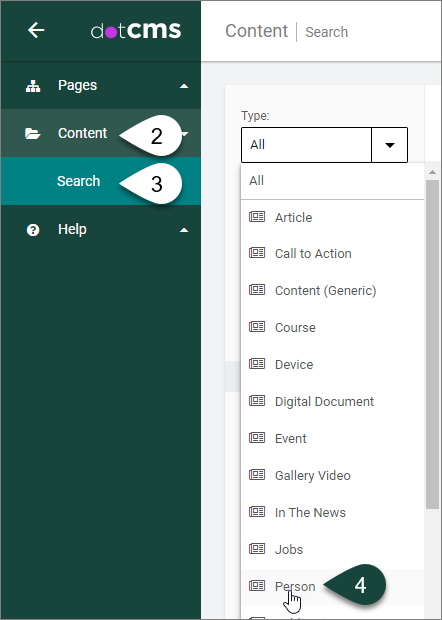
- Select Content on the left side of the screen.
- Select Search.
Content Dashboard
- Select Person from the Type drop-down menu.
NOTE: In order to create a Role for a Person profile a profile first needs to first be created, i.e., saved. If the Person profile has not yet been created, please refer to the How to create a Person Profile documentation for instructions.
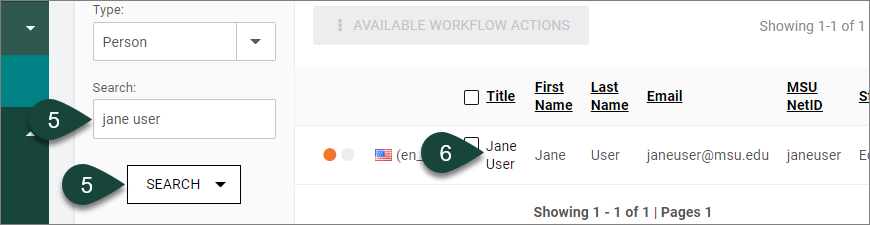
- Type in the name of the person in the Search field and click on the Search button.
- Select the name of the person to open their person profile.
Person Content Type: Content Tab
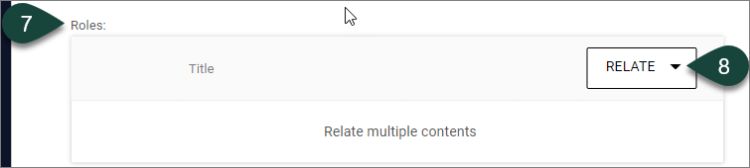
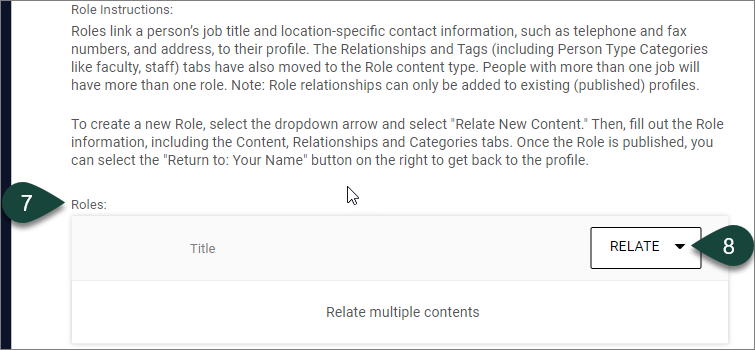
- Once the Person profile loads, scroll down in the Content tab until you reach the Roles field.
NOTE: Above most fields in the Content tab is Hint Text that may help you to use a field more successfully. It is recommended to read this information prior to filing in a particular field.
- OPTIONAL: Select the drop-down arrow in the Relate button.
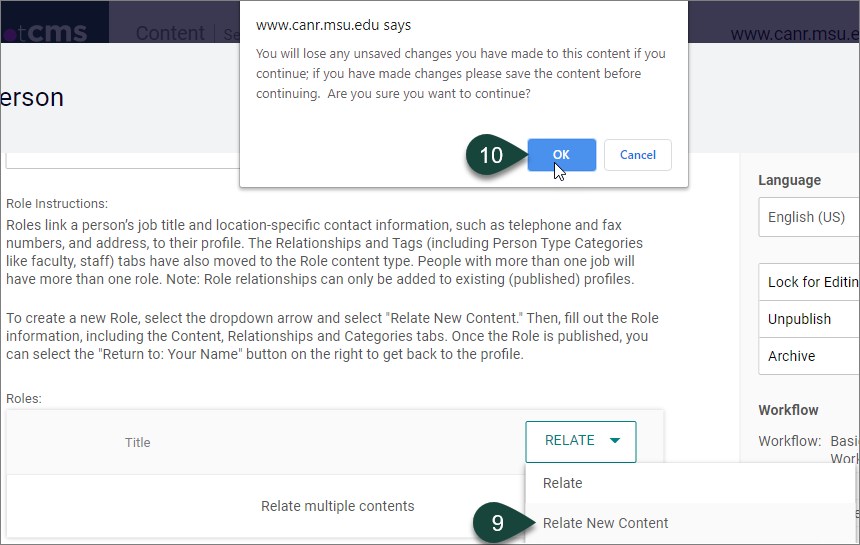
- OPTIONAL: Select the Relate New Content button.
- A warning notification will pop up at the top of the Person profile indicating that “www.canr.msu.edu says: ‘You will lose any unsaved changes you have made to this content if you continue; if you have made changes please save the content before continuing. Are you sure you want to continue.’” If there aren’t any unsaved changes, select the OK button.
NOTE: A new window will open for the Role content type.
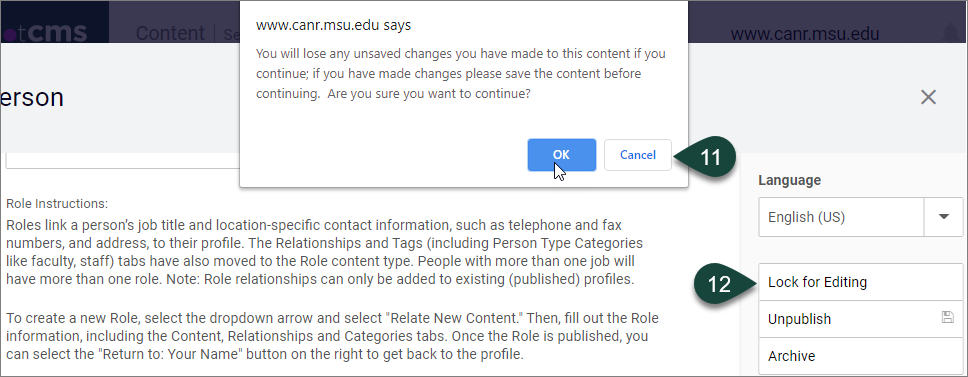
- If there are unsaved changes, select the Cancel button.
NOTE: Skip this step if you already have saved the Person profile changes and go to step 15.
- OPTIONAL: Select the Lock for Editing button.
NOTE: Skip this step if you already have saved changes and go to step 15.
- OPTIONAL: Select the Save Draft button.
NOTE: Skip this step if you already have saved changes and go to step 15.

- Once the Person profile has been saved, repeat steps 9 and 10.
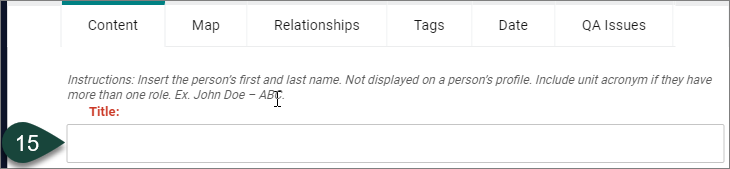
Role Content Type: Content Tab
- REQUIRED FIELD: Enter the person’s first and last name as the Title of the role.
TIP: If the person has or will have more than one role, then also include some kind of identifier (like the unit acronym or name) related to the specific role in the Title field for more clarity. Ex. Jane Doe – AFRE.
NOTE: This title is for back-end searching only, but can be helpful and important when updating roles or person content, especially if a person has multiple roles related to their person profile.
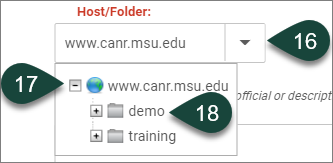
- REQUIRED FIELD: Open the Host/Folder drop-down menu.
- Select the Plus Sign (+) to twirl open the www.canr.msu.edu folder.
- Select the Folder of the site where the role will be saved.
Note: This will also determine who may be able to edit the Role based on permissions associated with Host Folders.
TIP: If you forget to select the folder for the Host/Folder, then when you attempt to publish the role you will receive an error stating that “You don't have the required permissions to save the asset. User has no Add Children Permissions on selected host.” Follow the steps above and republish the role. It should publish properly this time.
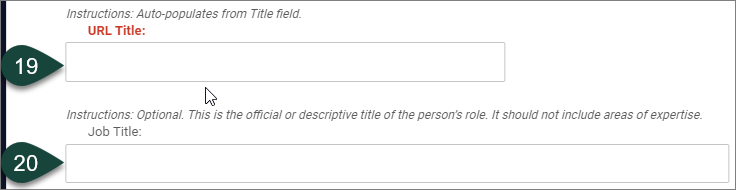
- REQUIRED FIELD: URL Title will fill in automatically.
- OPTIONAL: Enter the person’s Job Title. This is the official or descriptive title of the person’s role. This field is displayed on the person’s profile and Person Listing widgets (directories).
NOTE: This field should not include areas of expertise.
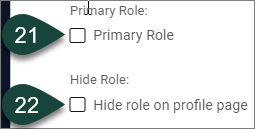
- OPTIONAL: Check the Primary Role check box if the person has more than one role and this is their main role.
NOTE: If this is the only role for a person, skip this field.
- OPTIONAL: If this is a role that the person does not what to appear on their profile, then it can be hidden via the Hide Role field. Select the Hide role on profile page check box.
NOTE: If the person does not have a role that they want to hide, skip this field.
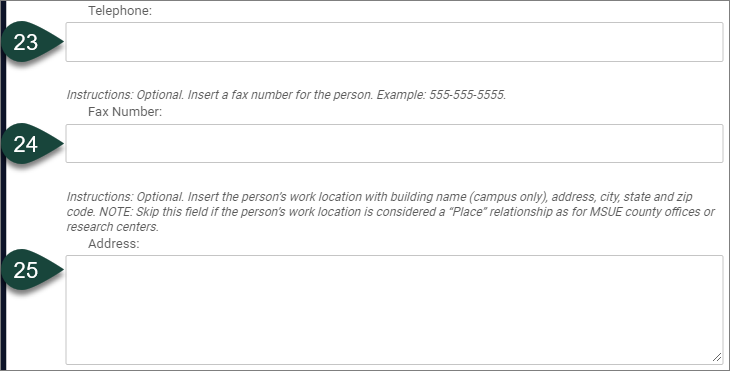
- OPTIONAL: Enter the person’s office or primary work Telephone number. This field is displayed on the person’s profile and Person Listing widgets (directories).
TIP: Ex.: XXX-XXX-XXXX.
TIP 2: Insert the country code for international phone numbers only.
- OPTIONAL: Enter the person’s Fax Number. This field is displayed on the person’s profile in the same format as a telephone number.
- OPTIONAL: Enter the full Address of the location of the person’s office, including building name (if on campus), street address, city, state and zip code. This address is displayed on the person’s profile as a clickable link that opens up a Google Maps web page to help navigate to this person’s office location.
TIP: It should be inserted as three separate lines of text.
Ex. Building or Office Name, if applicable.
Street address, Room/Suite number
City, State and ZipCode.
NOTE: Skip this field if the person works at a location that is considered a “Place” relationship, such as an MSU Extension county office or a AgBioResearch research center. However, the Work Location relationship must be selected on the Relationships tab instead of filling in this field.
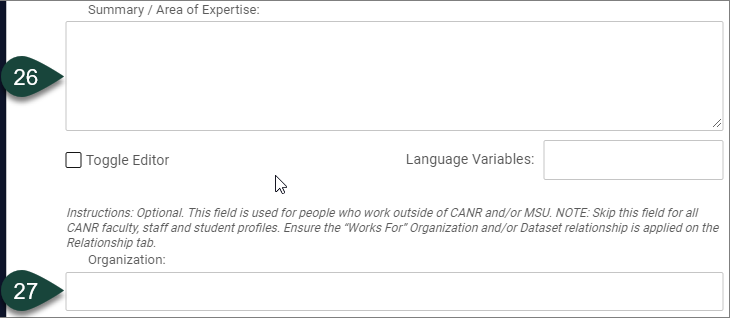
- OPTIONAL: Enter a summary of the person’s Area of Expertise, which can include words or phrases separated by commas.
TIP: When appropriate, include related tags for the person’s Area of Expertise on the Tags tab. For example, if “climate change” is one of the person’s Areas of Expertise, type in/select the “climate change” tag.
- OPTIONAL: Enter the person’s Organization. This field is used primarily for people who work outside of CANR and/or MSU. It is also sometimes used for CANR people whose unit does not have a website.
NOTE: However, for ALL CANR people whose unit does have a website, make sure that the Organization and/or Dataset Role relationship is selected on the Relationship tab instead of filling in this field.
Role Content Type: Map Tab
- If the person’s works for MSU Extension, select the Map tab at the top of the screen. If the person does not work for MSU Extension, skip this tab.
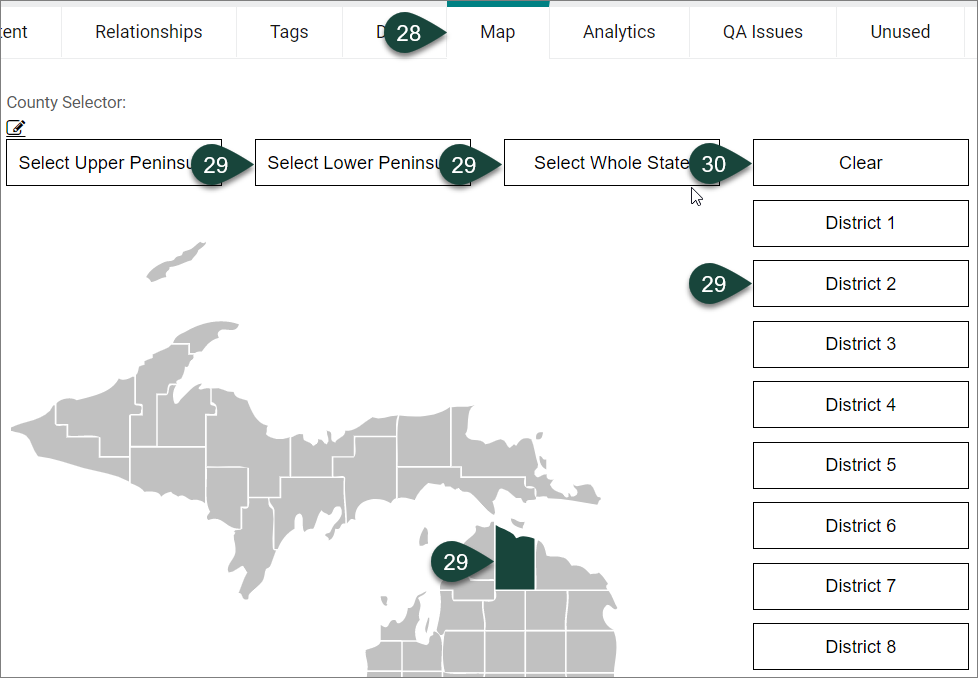
- Select the County(ies) that lies within the person’s coverage area. Can include the Whole State, Upper Peninsula, Lower Peninsula, one or more districts, or an individual county(ies).
- If there is a County(ies) or area of the map that should be removed as a relationship, select the Clear button or the name of an individual county. Repeat this process, as needed, if removing individual counties.

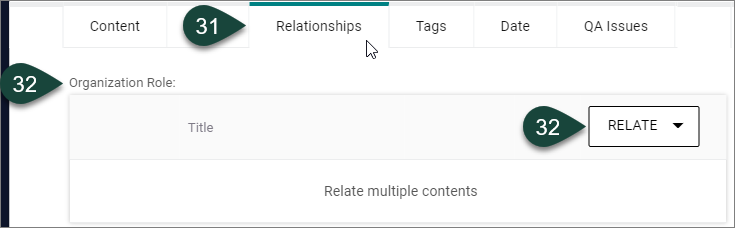
Role Content Type: Relationships Tab
- Select the Relationships Tab at the top of the screen. OPTIONAL: There are several types of relationships that can be applied: 1) Organization Role, 2) Work Location, 3) Dataset Role, 4) Series Role and 5) Persons.
NOTE: Typically, the relationship selected for Organization Role and/or Dataset Role will be based on the type of website you use.
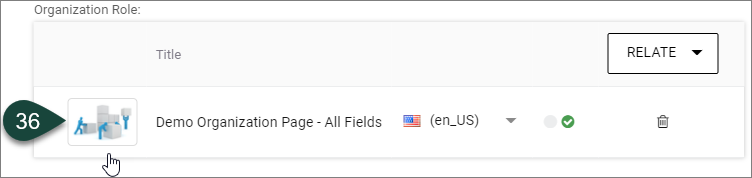
- Organization Role: Select the primary Organization that this role is associated with. An organization is a unit that is a college, department or institute.
TIP: This is one of the most used person relationship fields.
NOTE: For example, The MSU Extension (main website) is considered an Organization.
NOTE 2: It is possible to be affiliated with more than one organization.
- Select the Work Location that this role is associated with. Work Location is a targeted and select physical building or outdoor location, e.g., Dunbar Forest, related to the College of Agriculture and Natural Resources, includes off-campus places like MSU Extension offices.
TIP: This relationship is used primarily for AgBioResearch and MSU Extension employees. Skip this field for all other employees.
- Dataset Role is any topic or other grouping of information with which the role is related. It is possible to be affiliated with more than one Dataset. A Dataset is a unit or group that is an academic or Extension program, an Extension county website or an Extension topic website. These sites are typically sub-sites of Organization websites.
TIP: This is a commonly used person relationship field.
NOTE: For example, MSU Extension is the main Organization site and all Extension sub-sites are Datasets of that main site.
- Series: Series is used to highlight a group of related roles, such as department chairs.
NOTE: This relationship is not used for most roles.
- Persons: Person is the relationship that is made back to the person’s profile.
Note: this field is pre-populated with the person profile you are creating the role from.
- OPTIONAL: To apply a relationship, select the Relate button for the appropriate relationship type.
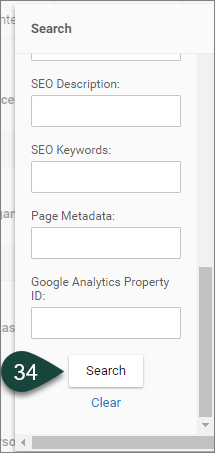
- In the Search window that opens, under Title field, type in the name of the relationship you want to make, i.e., the name of the unit (for Organizations, Work Location and Datasets).
NOTE: Ignore the Language field as it defaults to the English language.
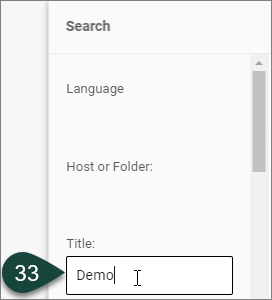
- Scroll to the bottom of the Search screen and select the Search button.
- From the Matching Results that appear, select the check box next to the most appropriate result.
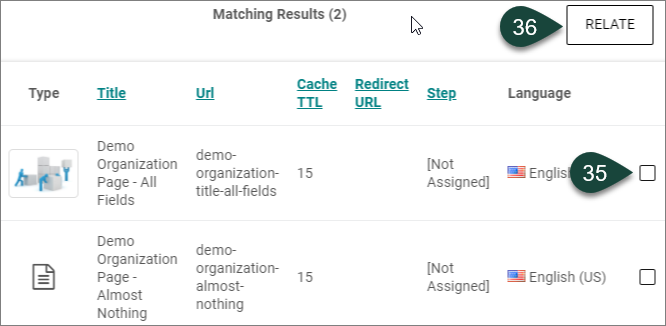
- Select the Relate button and the relationship will appear.
- Repeat steps 32 through 36 if additional relationships need to be applied.
Person Tags Tab
- Select the Tags Tab at the top of the screen. This tab enables you to create and select tags specific to the role, as well as select for a Person Type Category like Faculty or Staff, if needed.
TIP: A role should include at least one tag, usually the name or acronym for the unit the person works for. It is also common to use tags related to their area(s) of expertise and academic programs/teaching areas, e.g., agriculture, interior design, packaging, etc.
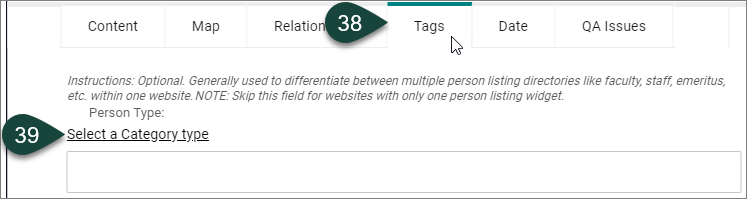
- OPTIONAL: If the role you are creating needs to have a Person Type Category applied, select the Categories link.
NOTE: Only select this link if the website has more than one Person Listing widget (directory), such as Faculty, Staff, Alumni, etc. Otherwise, skip this step.
- Select the appropriate Person Type Category from the list.
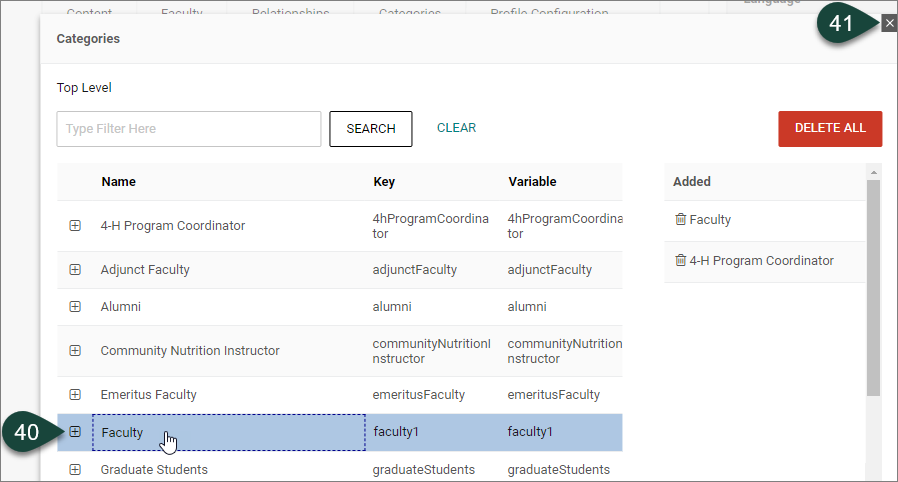
- Select the “X” box to close the window and the category will appear in the Person Type field.

- OPTIONAL (Recommended): Put your cursor in the Person Tags field and start typing the name of the tag to apply related to the person.
TIP: It is better to use tags that are targeted and strategic, rather than a lot of single word tags. For example, “dotcms training” is a better tag to use than the words “dotcms,” “website” or “training.”
- If a pre-set tag appears, you can select it.

- The tag will now appear in the Person Tags field.

- If a pre-set tag does not appear for the text you have typed, select the Enter key on your keyboard.

- The new tag will appear and have the outlined box showing around it like in Step 44.
NOTE: This new tag will go live as soon as the role is saved or published, and you will be able to select for it in the future.

Role Content Type: Final Steps
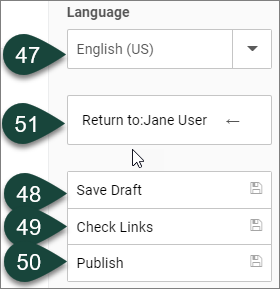
- The English language is the default for person profiles. You can skip this field.
- If you select the Save Draft button, it will save the role to the backend of dotCMS so you can still work on it before publishing it live.
- You can skip the Check Links button. Role doesn’t have content that requires link checking.
- If you select the Publish button, it will Publish the role and add the content to the related Person profile so it will appear live on the site.
- After saving or publishing the role, select the Return To button to return to the person’s profile.
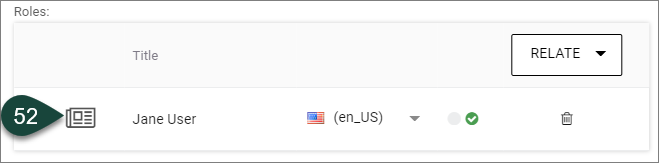
Person Content Type: Content Tab
- The new role will now appear in the Roles field on the person’s profile.