How to create an Article in dotCMS
 Print
Print Email
EmailLearn how to create an Article in dotCMS.
- Log into dotCMS.
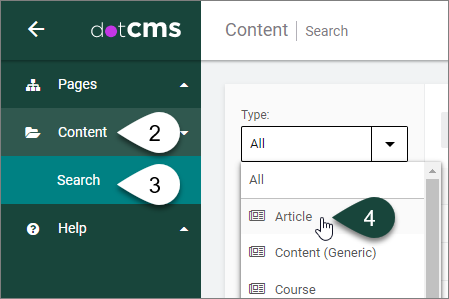
- Select Content on the left side of the screen.
- Select Search.
Content Dashboard
- Select Article from the Type drop-down menu.
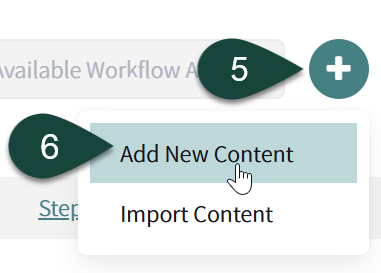
- Select the Triple Vertical Dots button in the upper right-hand corner of the page.
- Select Add New Content.
Article Content Tab
- REQUIRED FIELD: Open the Host/Folder drop-down menu.
- Select the Plus Sign (+) to twirl open the www.canr.msu.edu folder.
- Select the Folder of the site you where you want to save your article.

TIP: If you forget to select your folder for the Host/Folder, then when you attempt to publish the article you will receive an error stating that “You don't have the required permissions to save the asset. User has no Add Children Permissions on selected host.” Follow the steps above and republish your article. It should publish properly this time.
- REQUIRED FIELD: Enter the Title of the article.
NOTE: Above most fields in the Content tab is Hint Text that may help you to use the field more successfully. It is recommended to read this information prior to filing in a particular field.
- REQUIRED FIELD: URL Title will fill in automatically; however, you may change this if you so desire.
- REQUIRED FIELD: Enter a short Summary for the article.
NOTE: The Summary appears in article listings, reused content and on the Article page below the headline.
NOTE: You may ignore the Toggle Editor and Language Variable fields whenever you see them below a text box.
- OPTIONAL: Upload the main Image for the article using the Browse button.

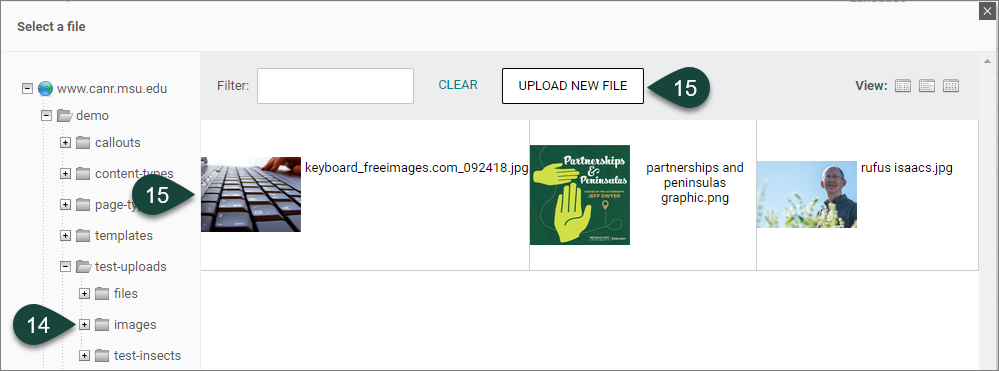
- If you select the Browse button, from the Select a file window, navigate to the Uploads/Images folder on your site.
- Either select an image that was previously uploaded to the Images folder, or select the Upload New File button to upload a new image.
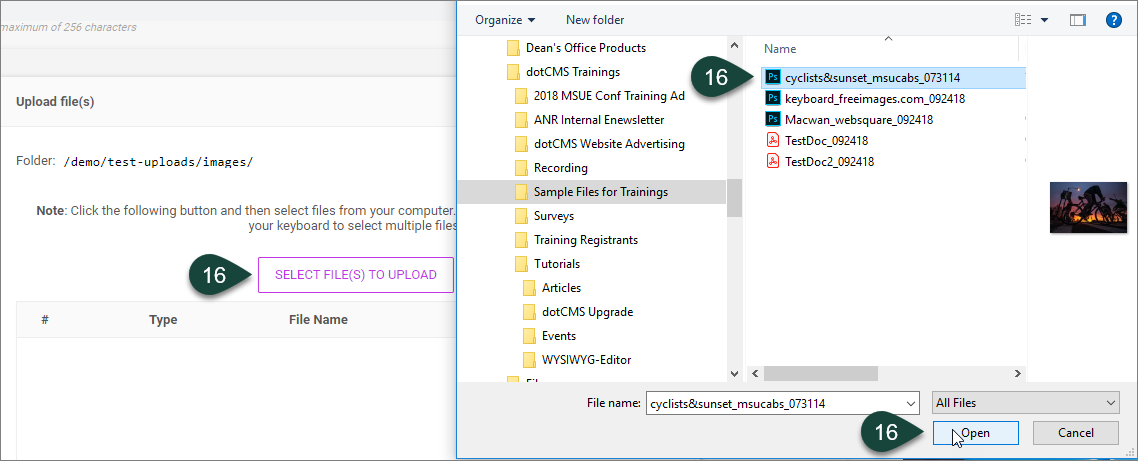
- If you selected Upload New File, Select file(s) to upload button and navigate to where the image file resides on your computer, and choose the file and select Open.
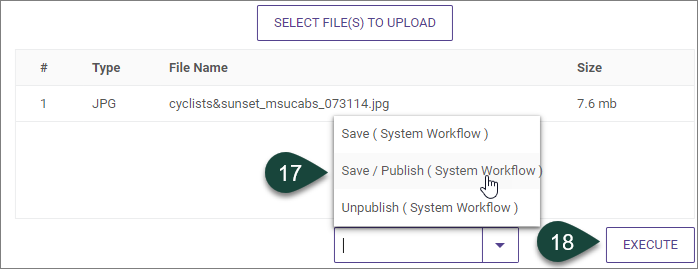
- Select Save / Publish button.
NOTE: DO NOT select the Save Draft button. This will only save your image to the backend of your website as unpublished, and it will not appear live when you publish the Article. By selecting Save / Publish for the image you are preparing the image for publishing live for the Article. It will not appear on your page until you Publish the Article.
- Select Execute.
- OPTIONAL: If you uploaded an image in step 13, you must enter an Image Description for web accessibility purposes. This needs to be written in sentence format with punctuation and is typically a basic, not detailed, description. For example, “Keyboard with hands typing.”
- OPTIONAL: If you uploaded an image in step 13, you can choose to enter an Image Caption to appear below the image.
TIP: If your photo needs to include attribution to the photographer, this is a great place to add a sentence like “Photo by of…”

- Image Crop Preview: If you uploaded an image in step 13, this field will show you what an automatically cropped version of the image will look like for 3:2 Horizontal Image and Square Image crops. However, if you upload custom crops for each of these fields in the next two steps below, then these preview images will no longer show in this field.
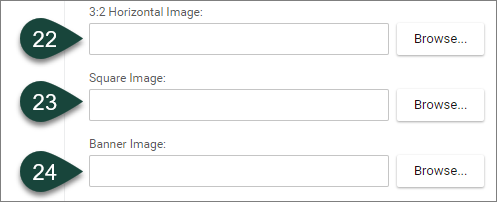
- OPTIONAL: This field is for a 3:2 (ratio 3 wide by 2 tall) Horizontal Image that is a resized custom crop of the primary image for use on the article feed, social media and search engines.
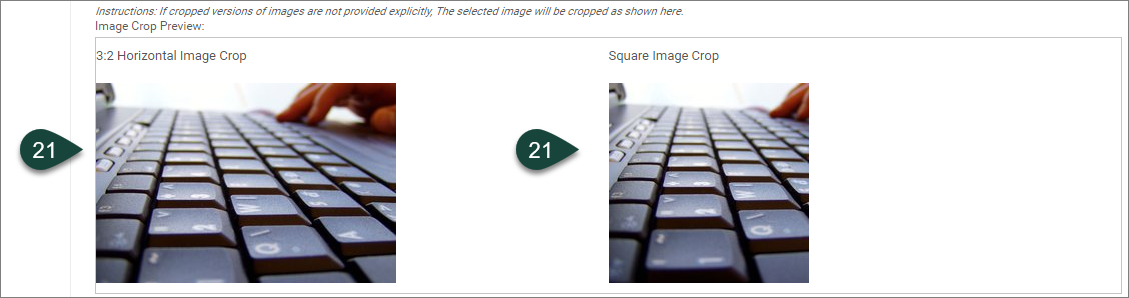
- OPTIONAL: This field is for a Square Image (1 wide by 1 tall) that is a resized custom crop of the primary image. For headshot images this will ensure that the photo showing on the Article posting and any feeds won’t cut off, or partially cut off, the person’s head from the image space.
- OPTIONAL: This field is for a large Banner Image for the article. This is the background image for the article that appears at the top of the article page and looks like what is shown on home pages. The Title and Summary fields will be overlaid. See “What is a banner image and how can it be used for articles and homepages” for more information.
TIP: It is best to use a landscape image.
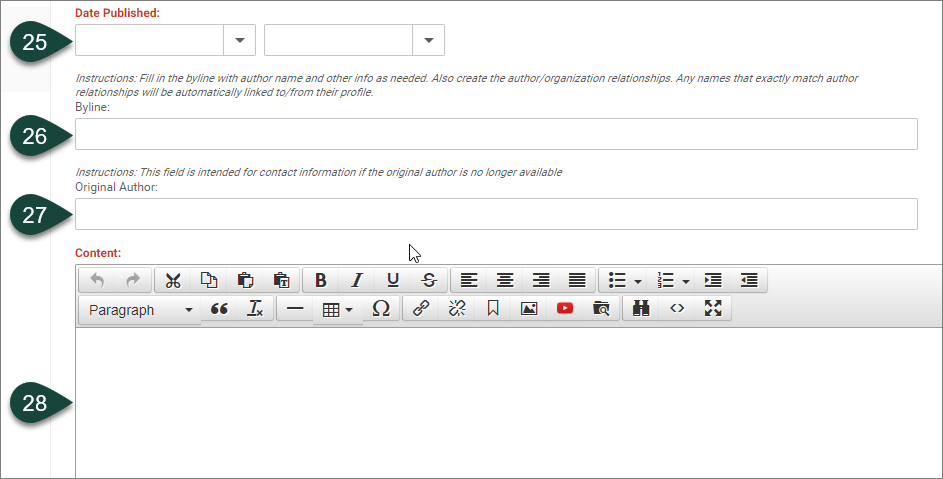
- REQUIRED: Enter the Date Published for the article. The Time field is optional.
- OPTIONAL: Enter the Byline author(s).
NOTE: Fill in with author(s) name(s) and email address(s) if the person(s) is not a part of MSU or does not have a Person Profile in dotCMS. Any names that exactly match a person’s name on their dotCMS profile will be automatically linked to their profile.
NOTE2: A relationship will still need to be made on the Relationships Tab for people with profiles that are the Article – Child (Author-Article).
- OPTIONAL: If you are updating an Article written by someone else that is no longer with your unit, include the name of the person in the Original Author
- REQUIRED: Use the WYSIWYG Editor to enter and format the article Content.
Article Relationships Tab
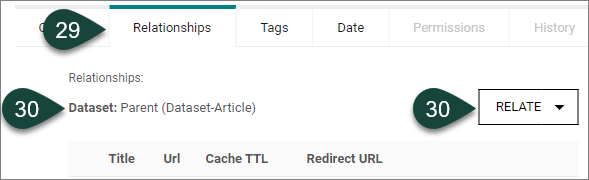
- Select the Relationships Tab at the top of the screen. OPTIONAL: There are several types of relationships that can be applied: 1) Series-Article, 2) Publication-Article, 3) In the News, 4) Article -Parent (Article), 5) Publication Issue, 6) Article -Child, 7) Person -Child (Featured), 8) Person -Child (Author).
- Series: This is used to highlight a group of related articles. Publication:
- Publication:
- In the News: An article is also featured in an external news article.
- Article – Parent (Article-related Articles): If this article has a relationship made for parent article, it means that it is the child article of the parent article. This article will appear in the "Related Articles" section in the footer of the related parent article.
- Publication Issue: This is used to associate an article with a publication.
- Article – Child (Article-related Articles): If this article has a relationship made for child article is means that the article is the parent article. This article will show any children articles in the footer area under the "Related Articles" heading.
- Person – Child (Featured-Person): Relate the article to any people featured in the article that have a person profile in dotCMS.
- Person – Child (Author-Article): This is where you relate any article authors that have a person profile in dotCMS.
- OPTIONAL: To apply a relationship, select the Relate button for the appropriate relationship type.
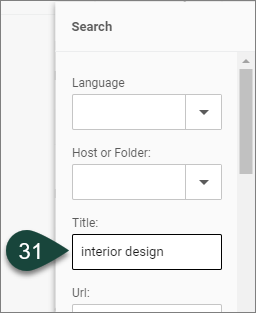
- In the Search window that opens, under Title field, type in the name of the relationship you want to make, i.e., the name of a publication you want to relate to, or the name of the person for Featured-Person or Article-Author.
NOTE: Ignore the Language field as it defaults to the English language.
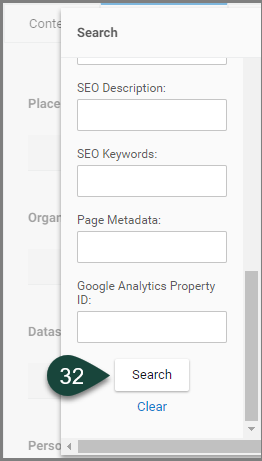
- Scroll to the bottom of the Search screen and select the Search button.
- From the Matching Results that appear, select the check box next to the most appropriate result.
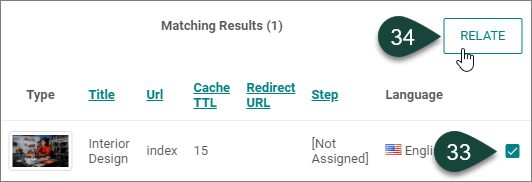
- Select the Relate button and the relationship will appear.

Article Tags Tab
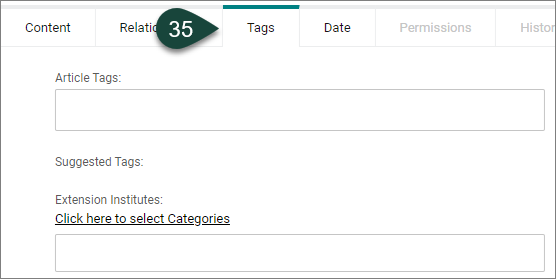
- Select the Tags Tab at the top of the screen. This tab enables you to create and select tags specific to your article posting.
NOTE: When your article is Published, the tags will appear at the bottom of the web page and will be clickable. If you select one of these tags a web page will open that displays all content related to that specific tag from across all the college’s websites.
- Put your cursor in the Tags field and start typing the name of the tag you would like to use.
TIP: It is better to use tags that are targeted and strategic, rather than a lot of single word tags. For example, “dotcms training” is a better tag to use than the words “dotcms,” “website” or “training.”
- If a pre-set tag appears, you can select it.

- Your tag will now appear in the Tags field.

- If a pre-set tag does not appear for the text you have typed, select the Enter key on your keyboard.

- Your new tag will appear and have the outlined box showing around it like in Step 38.
NOTE: This new tag will go live as soon as you publish your Article, and you will be able to select for it in the future.

Article Date Tab
- Select the Date Tab at the top of the screen. This tab allows you to select for a System Publish Date and a System Expiration Date.
TIP: It is best not to use these features. Instead you can create and Save Draft of your article to Publish live on the publish date, and Unpublish your article as needed.
NOTE: If you do use the fields in this tab, and you need to unpublish your article, you will have to first remove the date/time information and Publish the Article. Then, you can Unpublish the article.
Article Final Steps
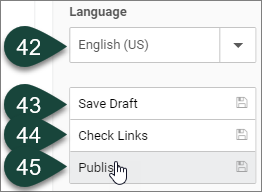
- The English language is the default for articles. You can skip this field.
- If you select the Save Draft button, it will save your article to the backend of dotCMS so you can still work on it before publishing it live.
- If you select the Check Links button, it will check the links in your article to make sure they work. If so, then the article will be Published. If not, then an error message window will pop up letting you know which links need to be fixed.
- If you select the Publish button, it will publish your article so it will appear live on your site.