Spring crop planning for the school garden: Part II
 Print
Print Email
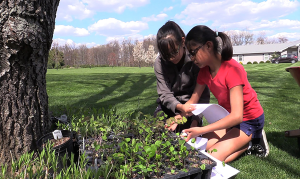
EmailGetting student input on what to plant and doing hands-on planning activities is a great way to get them involved.
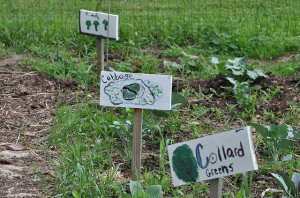
When choosing which crops to plant, I would highly encourage you to get as much student input as possible. I ask students what vegetables they like to eat, and they vote on which cool season crops to grow. I also encourage them to plant things they might like to try. Just for kicks, I always exert my executive privilege to insist on planting peas. I love fresh peas, and despite all the students’ objections about how nasty peas taste, I generally have a few converts come harvest time when they get to experience fresh peas – not canned or frozen.
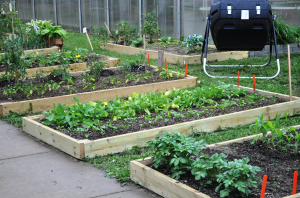
It is always a good idea to have your students measure the perimeter and calculate the area of the beds to determine the total amount of space available. Next you can decide on the format of your garden – will you have the traditional straight rows or maybe a square foot garden layout? Square foot garden planting is a method popularized by the Square Foot Gardening book by Mel Bartholomew where you mark off each square foot in the garden with string and each crop will fit so many plants per square foot. This is a good method for students to learn what area really means when they see that 16 radishes can grow in one square foot, but only 1 cabbage will fit in the same space. Mistakes can be made into learning opportunities and students can easily see the consequences of planting seeds too close together.
At this point in the planning process, it is important to determine with your students which direction is north and the mature height of your crops. The tallest plants will need to be planted at the north end of the garden bed so that they will not shade out the shorter plants. Vining crops such as peas will need to be placed next to a trellis that, again, should be placed in the north end of the bed.
Most of the specific information needed to correctly plant, grow and harvest a vegetable crop is printed on the back of the seed packet. An excellent learning experience is to have students read the information on the back of the seed packets to make sure that this crop can grow in the garden. Will there be enough sun, do you have the correct soil type, and do you have enough space?
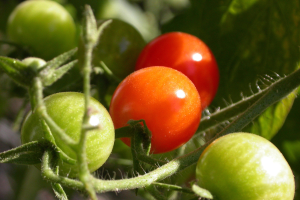
Another good exercise is to have the students create a harvest plan according to the days to maturity listed on the seed packet. They can use calendar to count forward to see when their crops may be ready to harvest. It’s also important for students to learn the proper harvesting method. Novice gardeners often harvest by pulling the entire plant out of the ground, when they could have removed the lower leaves and doubled their yield – and tasty meals! They can also calculate the potential yield, or how much edible plant material they can expect. Many students will be amazed at how much food they can grow in such a small space and in such a short time. And your students can get all this hands-on education before they start digging in the soil!
This article was published by Michigan State University Extension and the staff in the Community Food Systems workgroup who support farm to school activities including school gardens. For more information, visit http://www.msue.msu.edu. To have a digest of information delivered straight to your email inbox, visit http://www.msue.msu.edu/newsletters. To contact an expert in your area, visit http://expert.msue.msu.edu, or call 888-MSUE4MI (888-678-3464).