Crafts Around the World Series Arctic Region of North America: Soap Carving
DOWNLOADMay 11, 2021 - Janis Brinn, Michigan State University Extension
Enjoy learning how to make simple crafts from six of the seven continents: Africa, Europe, Asia, Australia, North America, and South America.
Purpose:
Introduce youth to some simple cultural traditional crafts from around the world. Journey around the continents, learning how to make simple crafts and having fun creating.
Objectives:
- Learn the cultural history and origins of the craft.
- Inspire global exploration.
- Develop fine motor skills in carving.
- Increase cultural awareness and creativity.
Education Standards:
- Understand the visual arts in relation to history and culture.
- Apply geometric methods to solve design problems.
Experiential Learning:
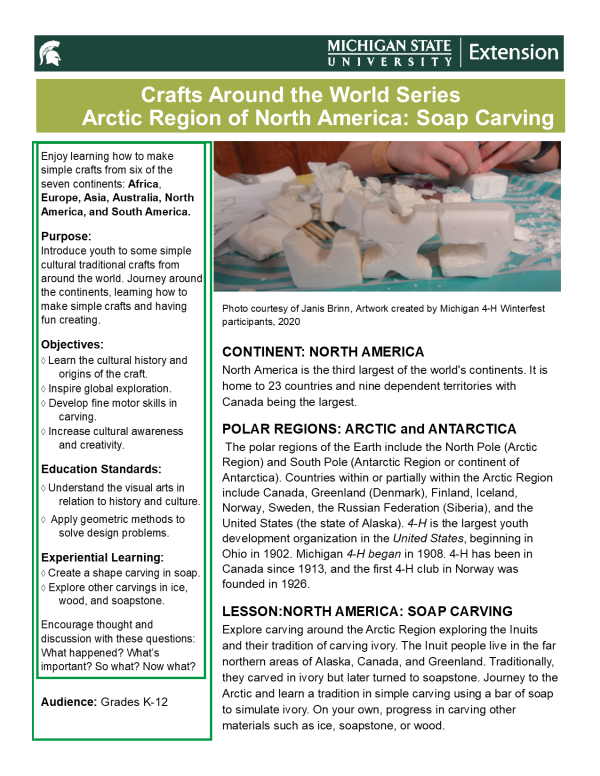
- Create a shape carving in soap.
- Explore other carvings in ice, wood, and soapstone.
Encourage thought and discussion with these questions:
What happened? What’s important? So what? Now what?
Audience: Grades K-12
CONTINENT: NORTH AMERICA
North America is the third largest of the world's continents. It is home to 23 countries and nine dependent territories with Canada being the largest.
POLAR REGIONS: ARCTIC and ANTARCTICA
The polar regions of the Earth include the North Pole (Arctic Region) and South Pole (Antarctic Region or continent of Antarctica). Countries within or partially within the Arctic Region include Canada, Greenland (Denmark), Finland, Iceland, Norway, Sweden, the Russian Federation (Siberia), and the United States (the state of Alaska). 4-H is the largest youth development organization in the United States, beginning in Ohio in 1902. Michigan 4-H began in 1908. 4-H has been in Canada since 1913, and the first 4-H club in Norway was founded in 1926.
LESSON:NORTH AMERICA: SOAP CARVING
Explore carving around the Arctic Region exploring the Inuits and their tradition of carving ivory. The Inuit people live in the far northern areas of Alaska, Canada, and Greenland. Traditionally, they carved in ivory but later turned to soapstone. Journey to the Arctic and learn a tradition in simple carving using a bar of soap to simulate ivory. On your own, progress in carving other materials such as ice, soapstone, or wood.
TIME: 30-45 minutes or multiple days depending upon the interest to learn more.
MATERIALS:
- Plastic to cover your work area
- Downloaded pattern instruction sheet* (optional)
- Heavy paper
- Pencil or pen
- Scissors
- Bar of soap
- Sponges
- Water
- Basic soap carving tools (plastic knife, clay shaping tools, toothpicks, toothbrushes, tapered craft sticks, craft-store carving tools, and other items)
- Samples (optional)
*You can download the instruction sheet and pattern Carving a Dog From Soap by Barbara Millikan, Fox Chapel Open House, 2016. (http://woodcarvingillustrated.com/blog/2016/07/07/carving-soap/) Permission is granted to photocopy these patterns and instructions for individuals, nonprofit organizations, and schools who state that they will use the copies for educational purposes.
INSTRUCTIONAL VIDEO LINK:
View this instructional video to guide you in creating your soap carvings:
https://mediaspace.msu.edu/media/t/1_tnexz57t
PROCEDURE: How to do soap carving
- Cover your work area with plastic.
- Use the downloaded template or create your own simple pattern on heavy paper using pencil or pen. Ideas include animals of the Arctic or Antarctic (such as seals, walruses, polar bears, reindeer, arctic foxes, penguins, and others), other creatures (such as turtles, dogs, and fish) and simple shapes such as hearts, stars, or mittens.
- Using the scissors, cut out your pattern and place it in the center of the soap.
- Trace the pattern with a pencil or pen. Apply pressure so that you cut into the soap.
- With your carving tool, scrape the soap away from your outline. Take off a small amount as you go until you get to the lines you just made with your pen or pencil.
- Trace detailed patterns onto the soap (walrus face with tusks, turtle shell and head, dog face and tail, heart arrow, and other details).
- Using your carving tool, round out the edges and shape the sides. Add details as you go, using other tools that provide the look you desire.
- With a wet sponge or with your fingers, smooth out your sculpture. You can also use a toothbrush, abrasive sponge, or other tool to add texture. If a part breaks off, wet the edges of the broken section, and use a toothpick to hold it together.
Art and Science – Be creative with your design. Experiment with different types of soap. Try different types of tools for adding texture and try different carving techniques. Ask questions & make discoveries!
Move into the more challenging art of carving wood, ice, or soapstone.
Reflection Questions: What surprised you and why? When were you the most creative, and why do you think that is? What made you curious today? What can you do with what you learned today?
ACKNOWLEDGMENTS:
The activity was developed by Michigan State University Extension Educator Janis Brinn in 2020, adapted in part from “Carving a Dog From Soap,” by Barbara Millikan in Woodworking Illustrated Magazine, 2016: http://woodcarvingillustrated.com/blog/2016/07/07/carving-soap/. It was updated in 2021.


 Print
Print Email
Email


