


How to Create a Video in dotCMS
 Print
Print Email
EmailLearn how to create a video entry in dotCMS.
dotCMS Video Content Instructions - Technical
- Log into dotCMS.
- Select Content on the left side of the screen.
- Select Search.
Content Dashboard
- Select Video from the Type drop-down menu.
- Select the Triple Vertical Dots button in the upper right-hand corner of the page.
- Select Add New Content.
Video Content Tab
NOTE: Above most fields in the Content tab is Hint Text that further explains the field. It is recommended to read this information prior to filing in a particular field.
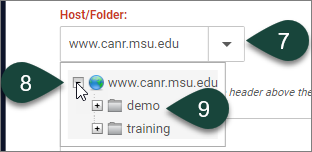
- REQUIRED FIELD: Open the Host/Folder drop-down menu.
- Select the Plus Sign (+) to twirl open the www.canr.msu.edu folder.
- Select the Folder of the site you where you want to save the video.
TIP: If you forget to select a folder for the Host, then when you attempt to Save Draft or Save/Publish the video content you will receive an error stating “You don't have the required permissions to save the asset. User has no Add Children Permissions on selected host.” Do not close the video content entry, follow the steps above and resave or republish the video content entry. It should save/publish properly this time.
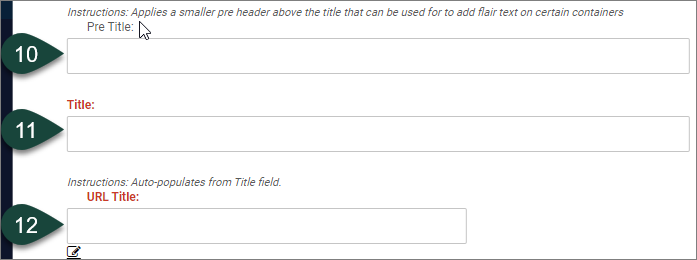
- OPTIONAL: Enter a Pre-Title for the video. Skip this field if you do not have a Pre-Title.
NOTE: This will apply a smaller pre-header before or above the video Title that can be used to add flair text on certain dotCMS containers.
- REQUIRED FIELD: Enter the Title of the video.
NOTE: It is a best practice to add a video content entry to dotCMS instead of embedding it to a web page. The dotCMS web page will be sharable across dotCMS sites and trackable via Google Analytics. If a video is only embedded on a web page then the video view analytics for that video will be unknown unless you have access to the video platform account (like YouTube, Vimeo, MediaSpace, etc.).
TIP: If the video is part of series where each video content entry will focus on a different topic and/or take place on a different date and will feature the same title for all video content entries, it is a good idea to include a topic or date reference sub-tile within the title to help distinguish these videos on video listings within dotCMS or on specific pages where the videos may be reused. For example, “Bug Bites! Session 2: Aphidoletes and Aphid Parasitoids” or “’What's U.P. @ UPREC?’ August 13, 2020, Rotational Grazing.”
- REQUIRED FIELD: URL Title will fill in automatically; however, you may change this if you so desire.
NOTE 1: If there is already a video content entry in the system with the same URL Title, then you will need to create a unique URL Title. Otherwise, when you try to save the video content entry, you will receive an error that a video already exists in the system with that same URL Title. For example, if a video in the system has a URL title of canr.msu.edu/videos/what-s-u-p-uprec, then you would need to change the URL Title to something different like canr.msu.edu/videos/what-s-u-p-uprec-august-13-2020-rotational-grazing.
NOTE 2: URL titles must not contain any spaces and should include hyphens (-) between the words. For example, what-s-u-p-uprec-august-13-2020-rotational-grazing.
- OPTIONAL FIELD: Enter the Video URL for the video. If you have the URL but not the full embed code for a video, paste it into this field. If you don’t know how to locate the Video URL, then skip this step and go to step 14. Example: https://youtube.com/embed/something.
TIP: The YouTube embed URL is easier to find and access than on some of the other video profiles like Vimeo or MediaSpace.
- OPTIONAL FIELD: Enter the Embed URL (or full embed code) for the video.
TIP: This field can be used to embed code for any video from any video platform. Learn how to find the Embed URL on MediaSpace, Vimeo or YouTube.
NOTE: You may ignore the Toggle Editor and Language Variable fields whenever you see them below a text box.

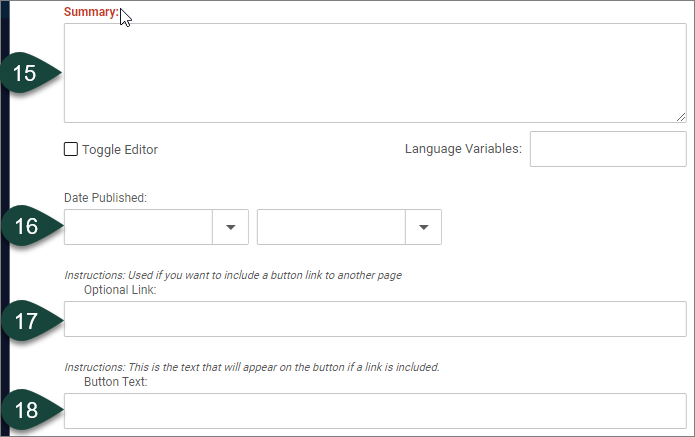
- REQUIRED FIELD: Enter a short Summary for the video content entry.
TIP: The text for the Summary should be the first sentence or two of the video description.
NOTE: The Summary shows on video listings and on reused content. It will not show on the video content entry page.
- OPTIONAL: Select the drop-down menu for the Date Published field and choose the Date for the video. The Time field is optional.
NOTE: It is best practice to input a Date Published for videos, especially if they will appear in a video listing where they are listed by date, usually newest date first. Videos without dates selected will appear at the top of ascending video listings.
- OPTIONAL: Enter an Optional Link (URL to a related web page). This will show as a button link on the video page and any related custom containers. This step is connected to step 18, which must also be filled in if this field is completed. If there is no Optional Link, then skip this field.
- OPTIONAL: Enter the Button Text for the Optional Link from step 17. This will show as a button link on the video page and any related custom containers. If there is no Optional Link, then skip this field.
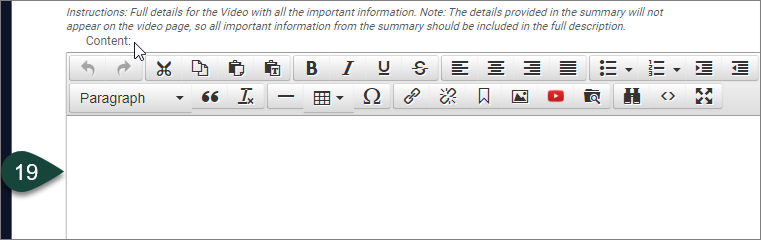
- OPTIONAL: Use the WYSIWYG Editor to enter and format the video description Content, which can include a duplication of the Summary text content and any other details about video topics, sections, people featured, etc.
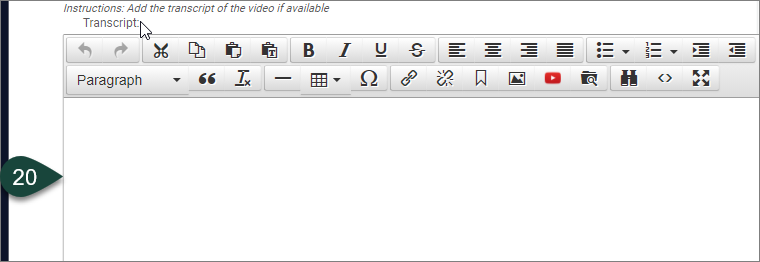
- OPTIONAL: Add in the Transcript text from the video if it’s available.
Video Relationships Tab
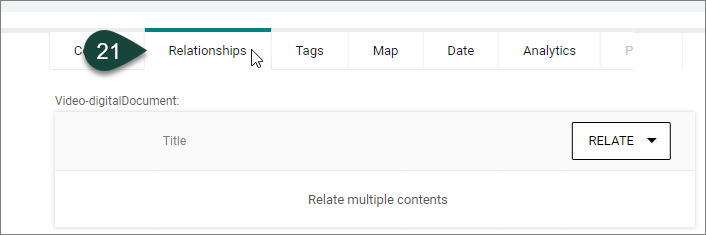
- Select the Relationships Tab at the top of the screen. OPTIONAL: There are three types of relationships that can be applied: 1) Video-digitalDocument, 2) Series-Video, 3) Person-Video.
- Video-digitalDocument: This is used to relate any digital documents to a specific video. This relationship will appear in the Related Content sub-menu on the video page.
- Series-Video: This is used to highlight a group of related videos.
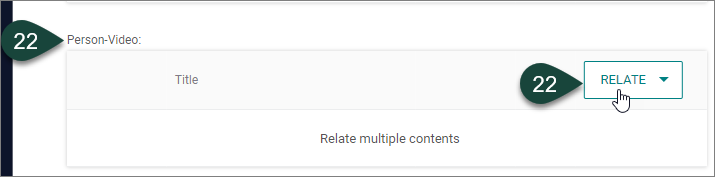
- Person-Video: This relates the video to a person(s) that is featured in the video. They must have profile in dotCMS to make this relationship. This is the most common relationship that can be made.
- OPTIONAL: To apply a relationship, select the Relate button for the appropriate relationship type.
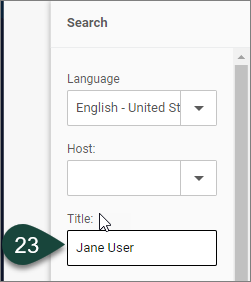
- In the Search window that opens, under Title, First Name or Last Name fields, type in the name of the relationship you want to make, i.e., the name of the person for Person-Video. Or in the list of Matching Results select the relationship you want to make.
NOTE: Ignore the Language field as it defaults to the English language.
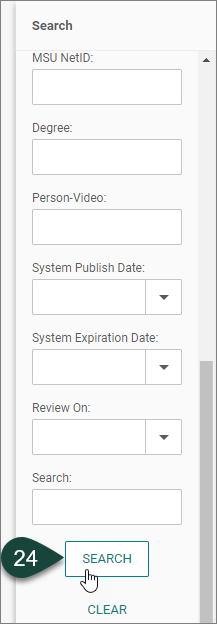
- Scroll to the bottom of the Search screen and select the Search button.
- From the Matching Results that appear, select the check box next to the most appropriate result.
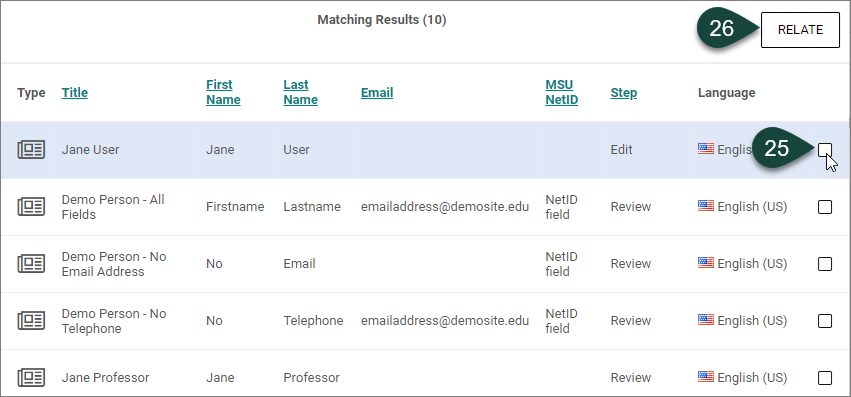
- Select the Relate button and the relationship will appear.

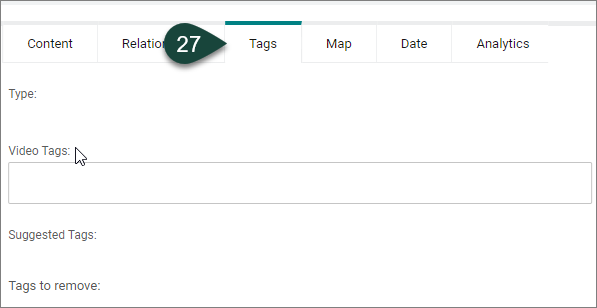
Video Tags Tab
- Select the Tags Tab at the top of the screen. This tab enables you to create and select tags specific to the video.
NOTE: When the video is Published, the tags will appear at the bottom of the web page and will be clickable. If you select one of these tags a web page will open that displays all content related to that specific tag from across all the college’s websites.
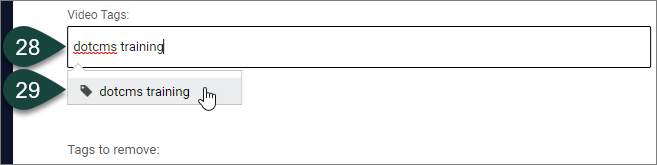
- Put your cursor in the Tags field and start typing the name of the tag you would like to use.
TIP: It is better to use tags that are targeted and strategic, rather than a lot of single word tags. For example, “dotcms training” is a better tag to use than the words “dotcms,” “website” or “training.”
- If a pre-set tag appears, you can select it.
- Your tag will now appear in the Tags field.
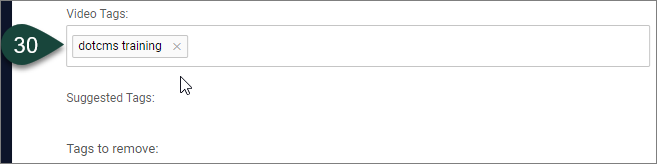
- If a pre-set tag does not appear for the text you have typed, select the Enter key on your keyboard.

- Your new tag will appear and have the outlined box showing around it like in Step 38.
NOTE: This new tag will go live as soon as you publish the video, and you will be able to select for it in the future.

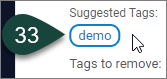
- The Suggested Tags field will display tags that may be relevant based on the event information input from the Content tab and other existing dotCMS tags that might be related. Select any tags that are applicable for the event.
NOTE: Not all tags listed as suggested will be appropriate and there may be others that you will need type in and select yourself, as explained in step 31.
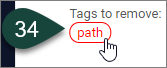
- The Tags to Remove field will display tags that have been selected as a tag that should no longer be used for content, which may include different versions of an existing tag. It is recommended to select any tag(s) that appear in this field and to not use them in the future. For example, “mimoneyhealth” will show up as a Tag to Remove, where as the tag “mi money health” is the preferred tag to use.
Video Map Tab
- If this is an MSU Extension-related video, select the Map tab at the top of the screen. If this is a non-MSU Extension-related video, skip this tab.
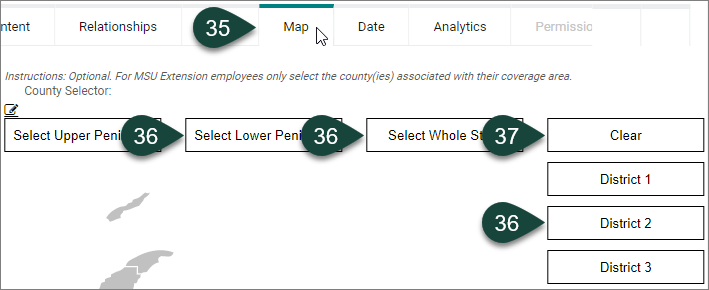
- Select the County(ies) where you would like to promote this video. This can include the Whole state, Upper or Lower Peninsula, one or more districts, or an individual county(ies) for the event.
- If there is a County(ies) or area of the map that should be removed as a relationship, select the Clear button or the name of an individual county. Repeat this process, as needed, if removing individual counties.

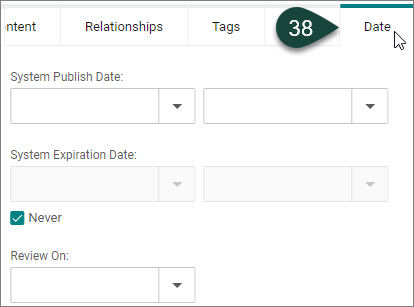
Video Date Tab
NOTE: There is no specific action you need to take in this tab. This information is strictly informative.
- OPTIONAL: Select the Date Tab at the top of the screen. This tab allows you to select for a System Publish Date and a System Expiration Date.
TIP: It is best not to use these features. Instead you can create and Save Draft of the video to Publish live on the publish date, and Unpublish the video as needed.
NOTE: If you do use the fields in this tab, and you need to unpublish the video, you will have to first remove the date/time information and Publish the video. Then, you can select to Unpublish the video.
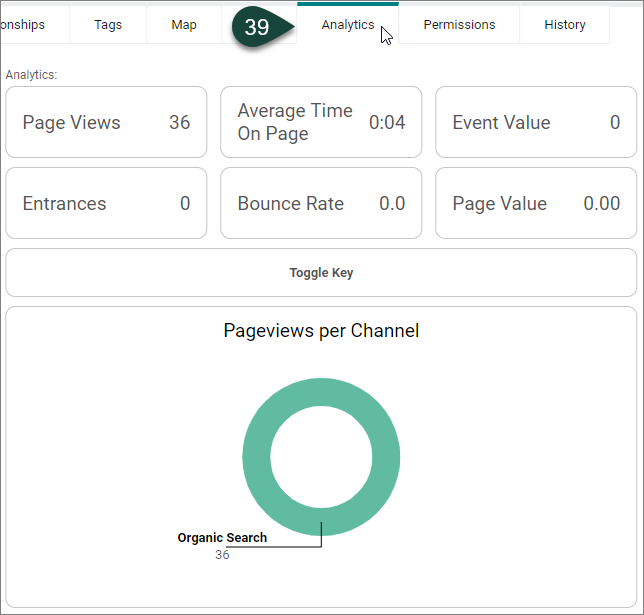
Video Analytics Tab
- OPTIONAL: Select the Analytics Tab at the top of the screen.
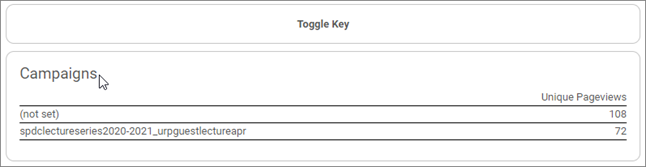
NOTE: Until a new Video is published this tab will remain empty. After a Video is published, then this tab can show analytics generated by Google Analytics, including Page Views, Average Time on Page, Event Value, Entrances, Bounce Rate and Page Value. It may also show Pageviews per Channel like Organic Search, Email, Direct, etc. If Google Campaign URL Builder tracking links are created for this video, then analytics for that content will also appear under the Campaigns heading.
Video Final Steps
- The English language is the default language. Skip this field.

- If the Save Draft button is selected, it will save the video to the backend of dotCMS so you can still work on it before publishing it live.
- If the Save/Publish button is selected, it will publish the video page so it will appear live on your site.
TIP: As a best practice, it is a good idea to check the video page on the live site after it has been published to make sure everything looks okay. To easily find the newly published video page, go to a second/different browser that you are NOT logged into for dotCMS and type or paste in canr.msu.edu/videos/INSERT VIDEO URL TITLE TEXT from step 12. For example, if you are logged into dotCMS via the Chrome browser, select a different browser from your computer (like Firefox, Safari, Edge) to view the video page live on a website. If you attempt to open the video URL using the browser you are logged into, it will open the video page within the dotCMS system instead, which won’t give you the live view that you are looking for.
